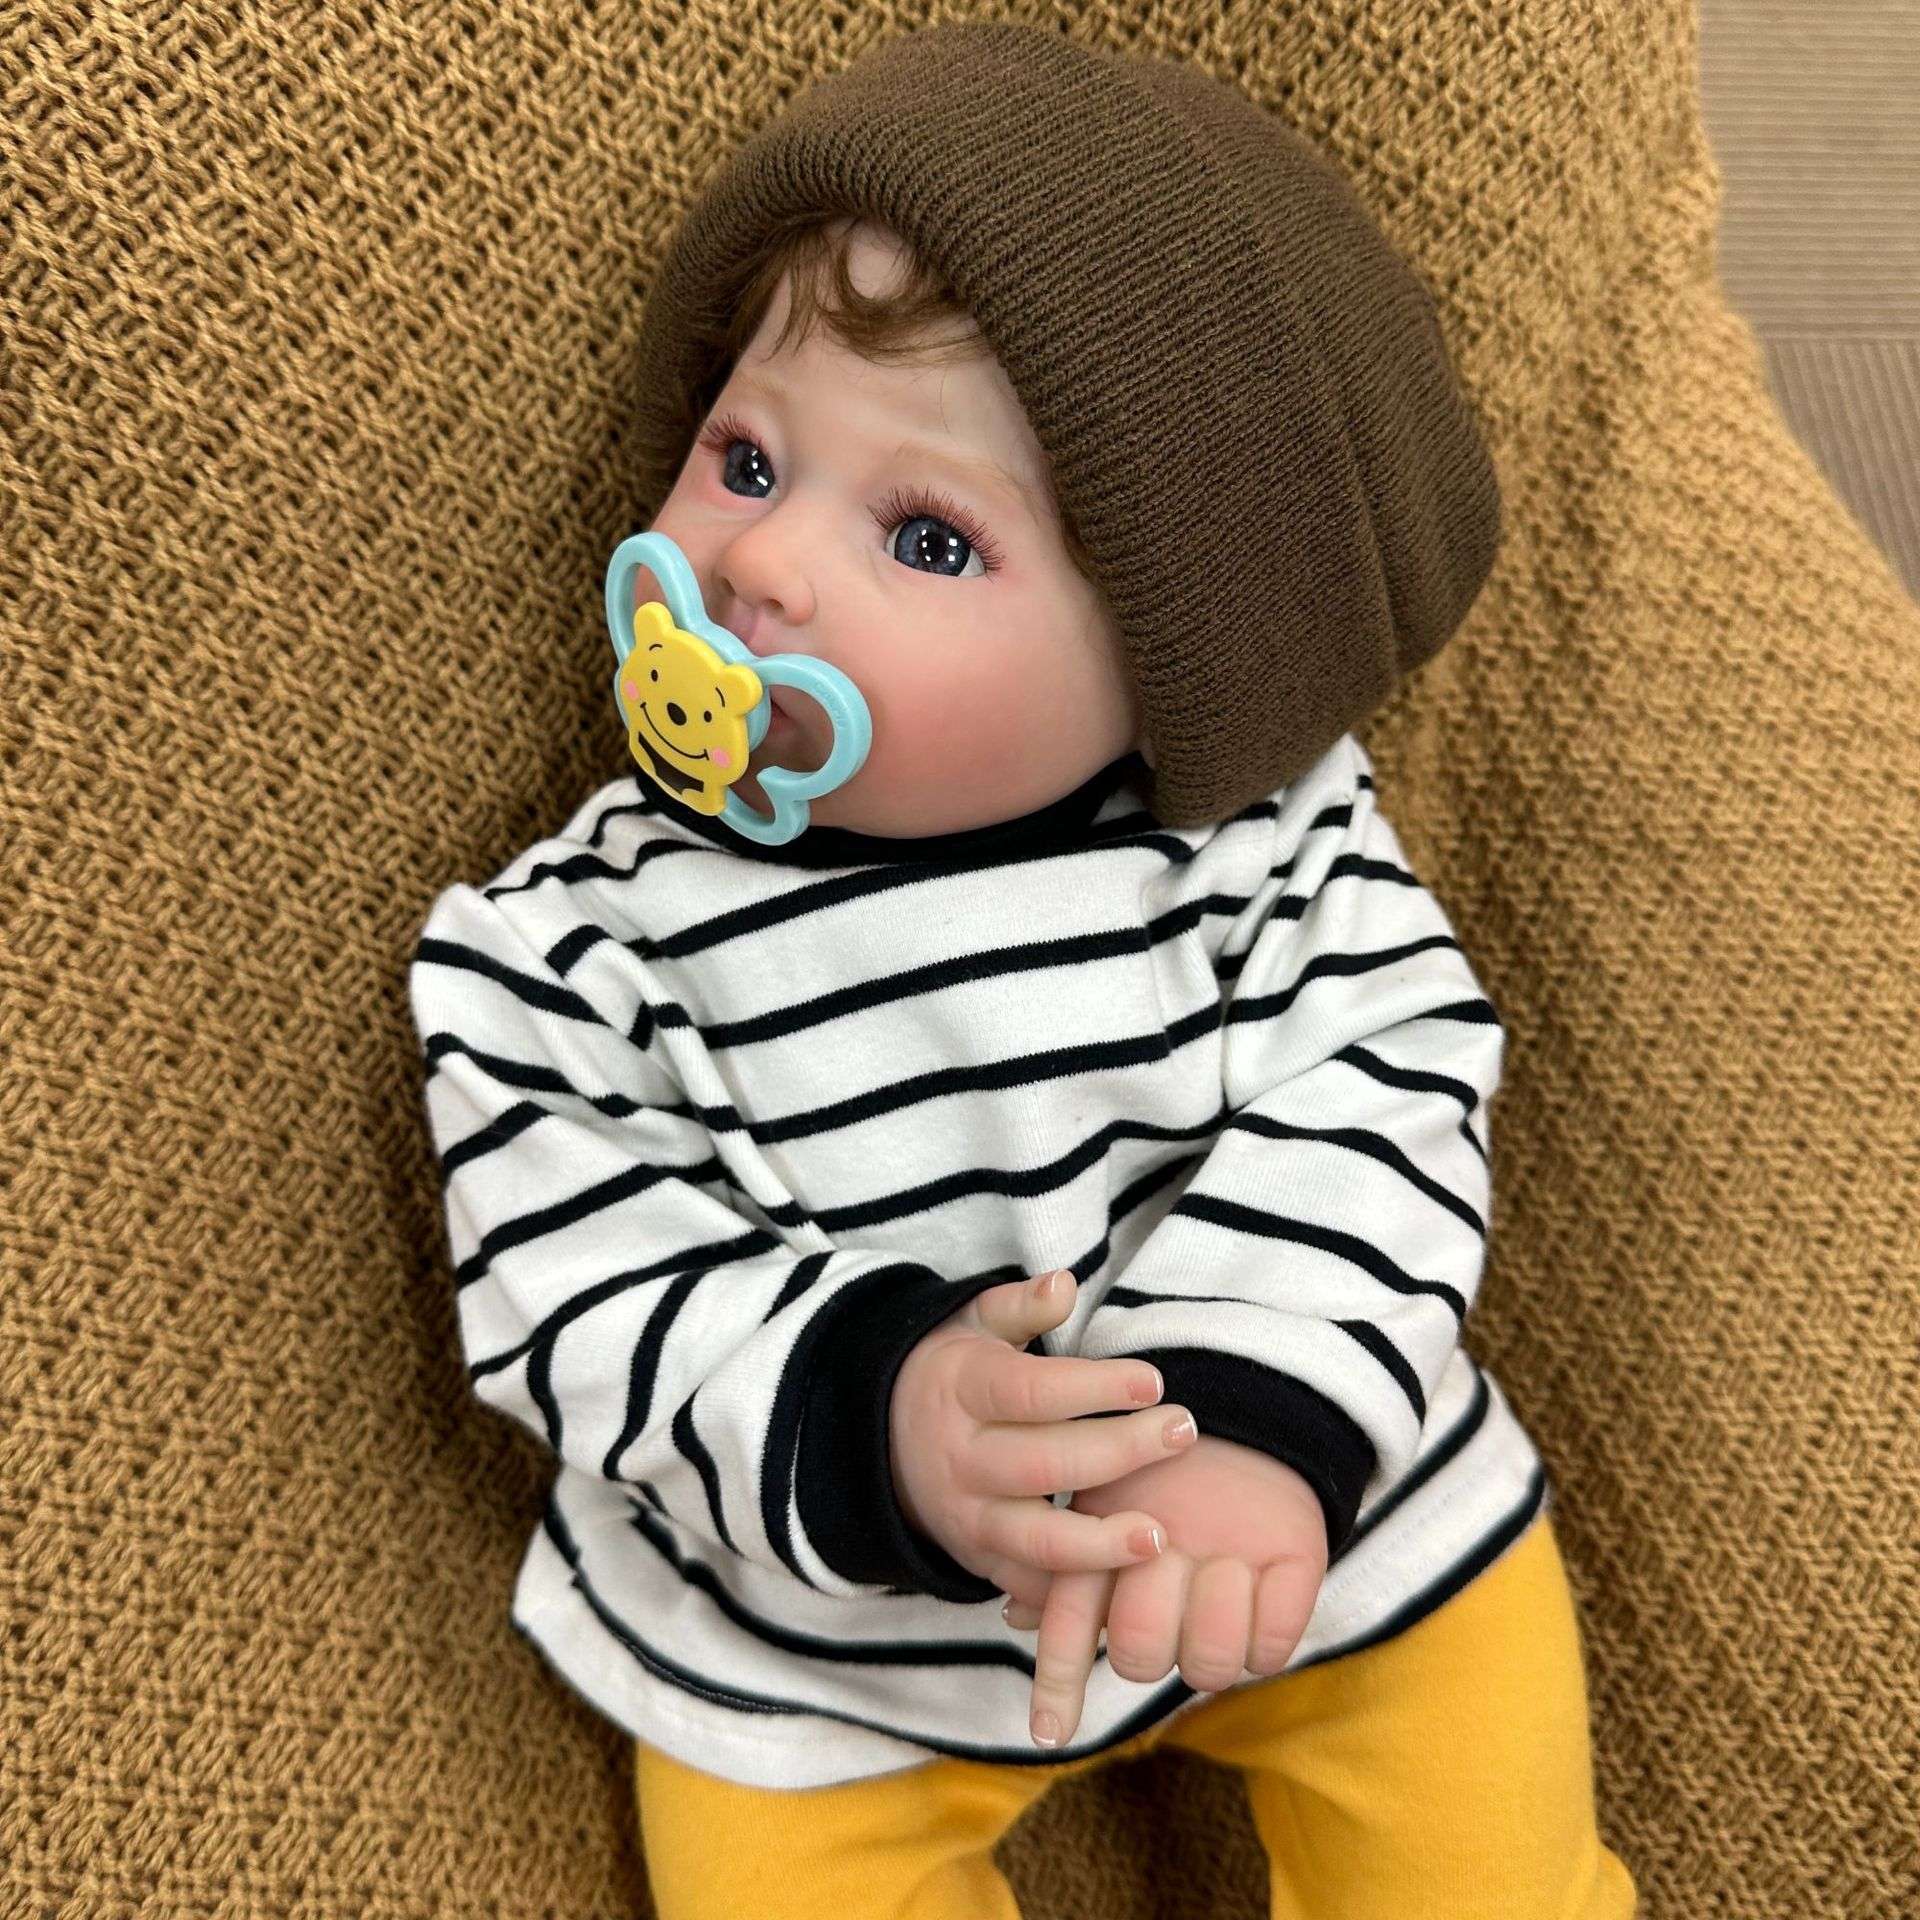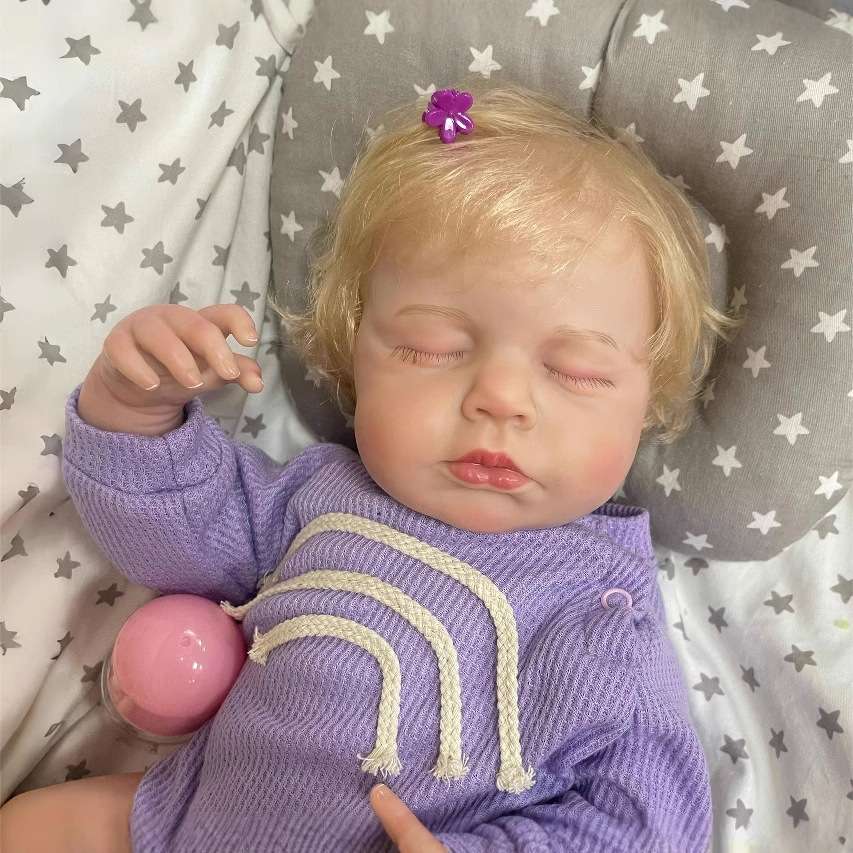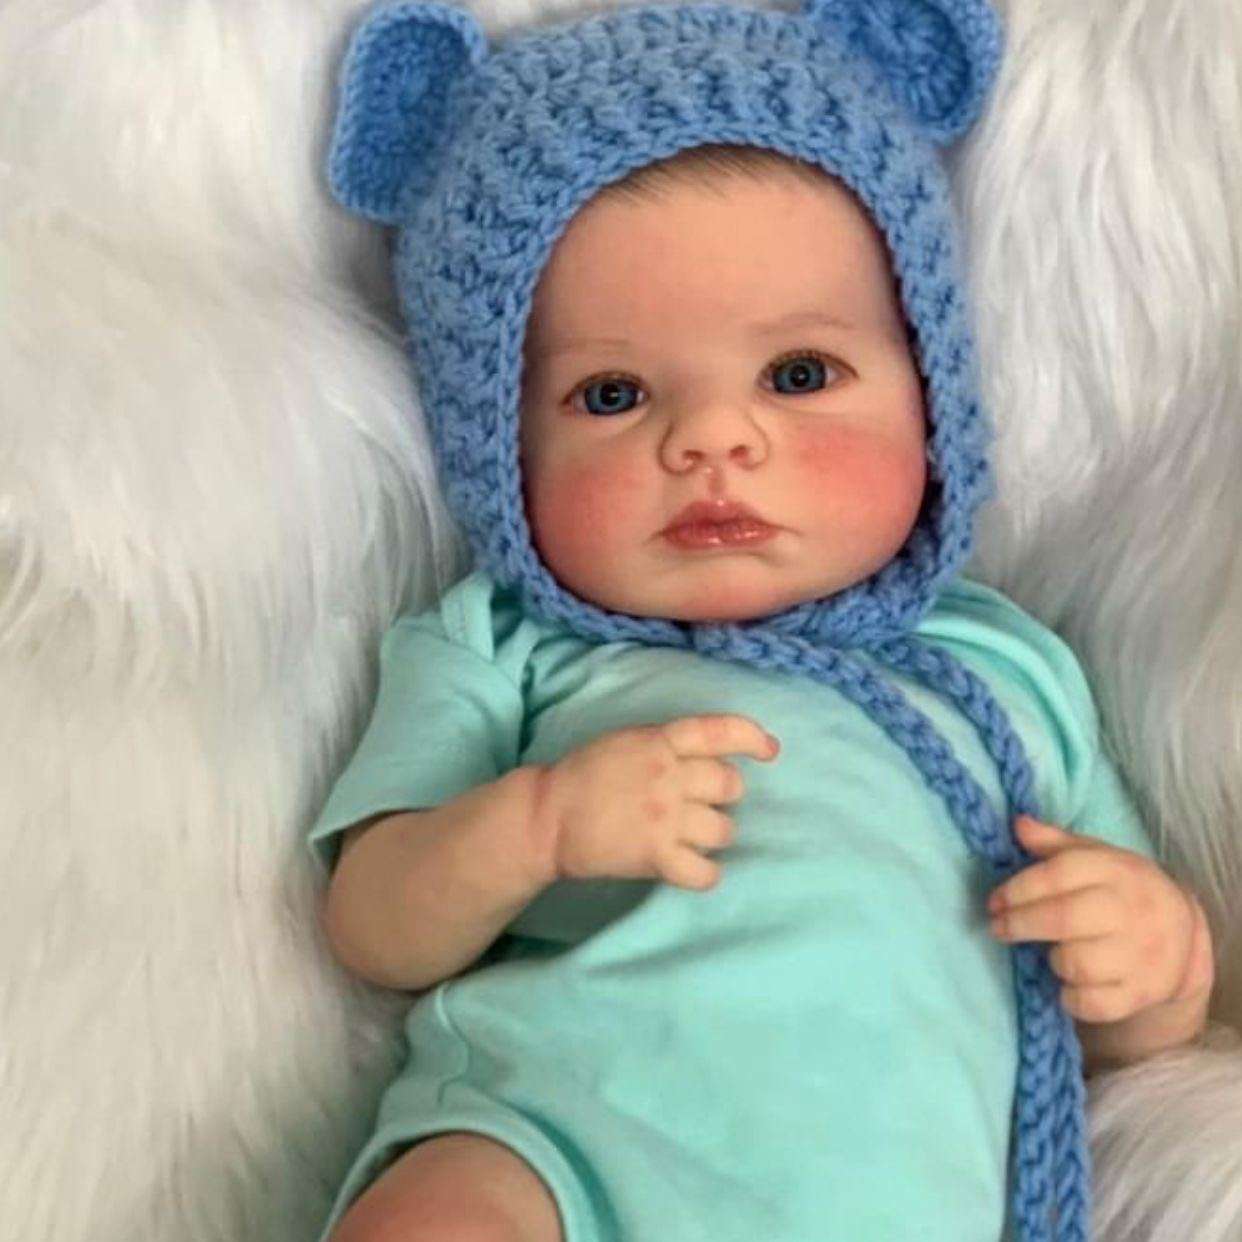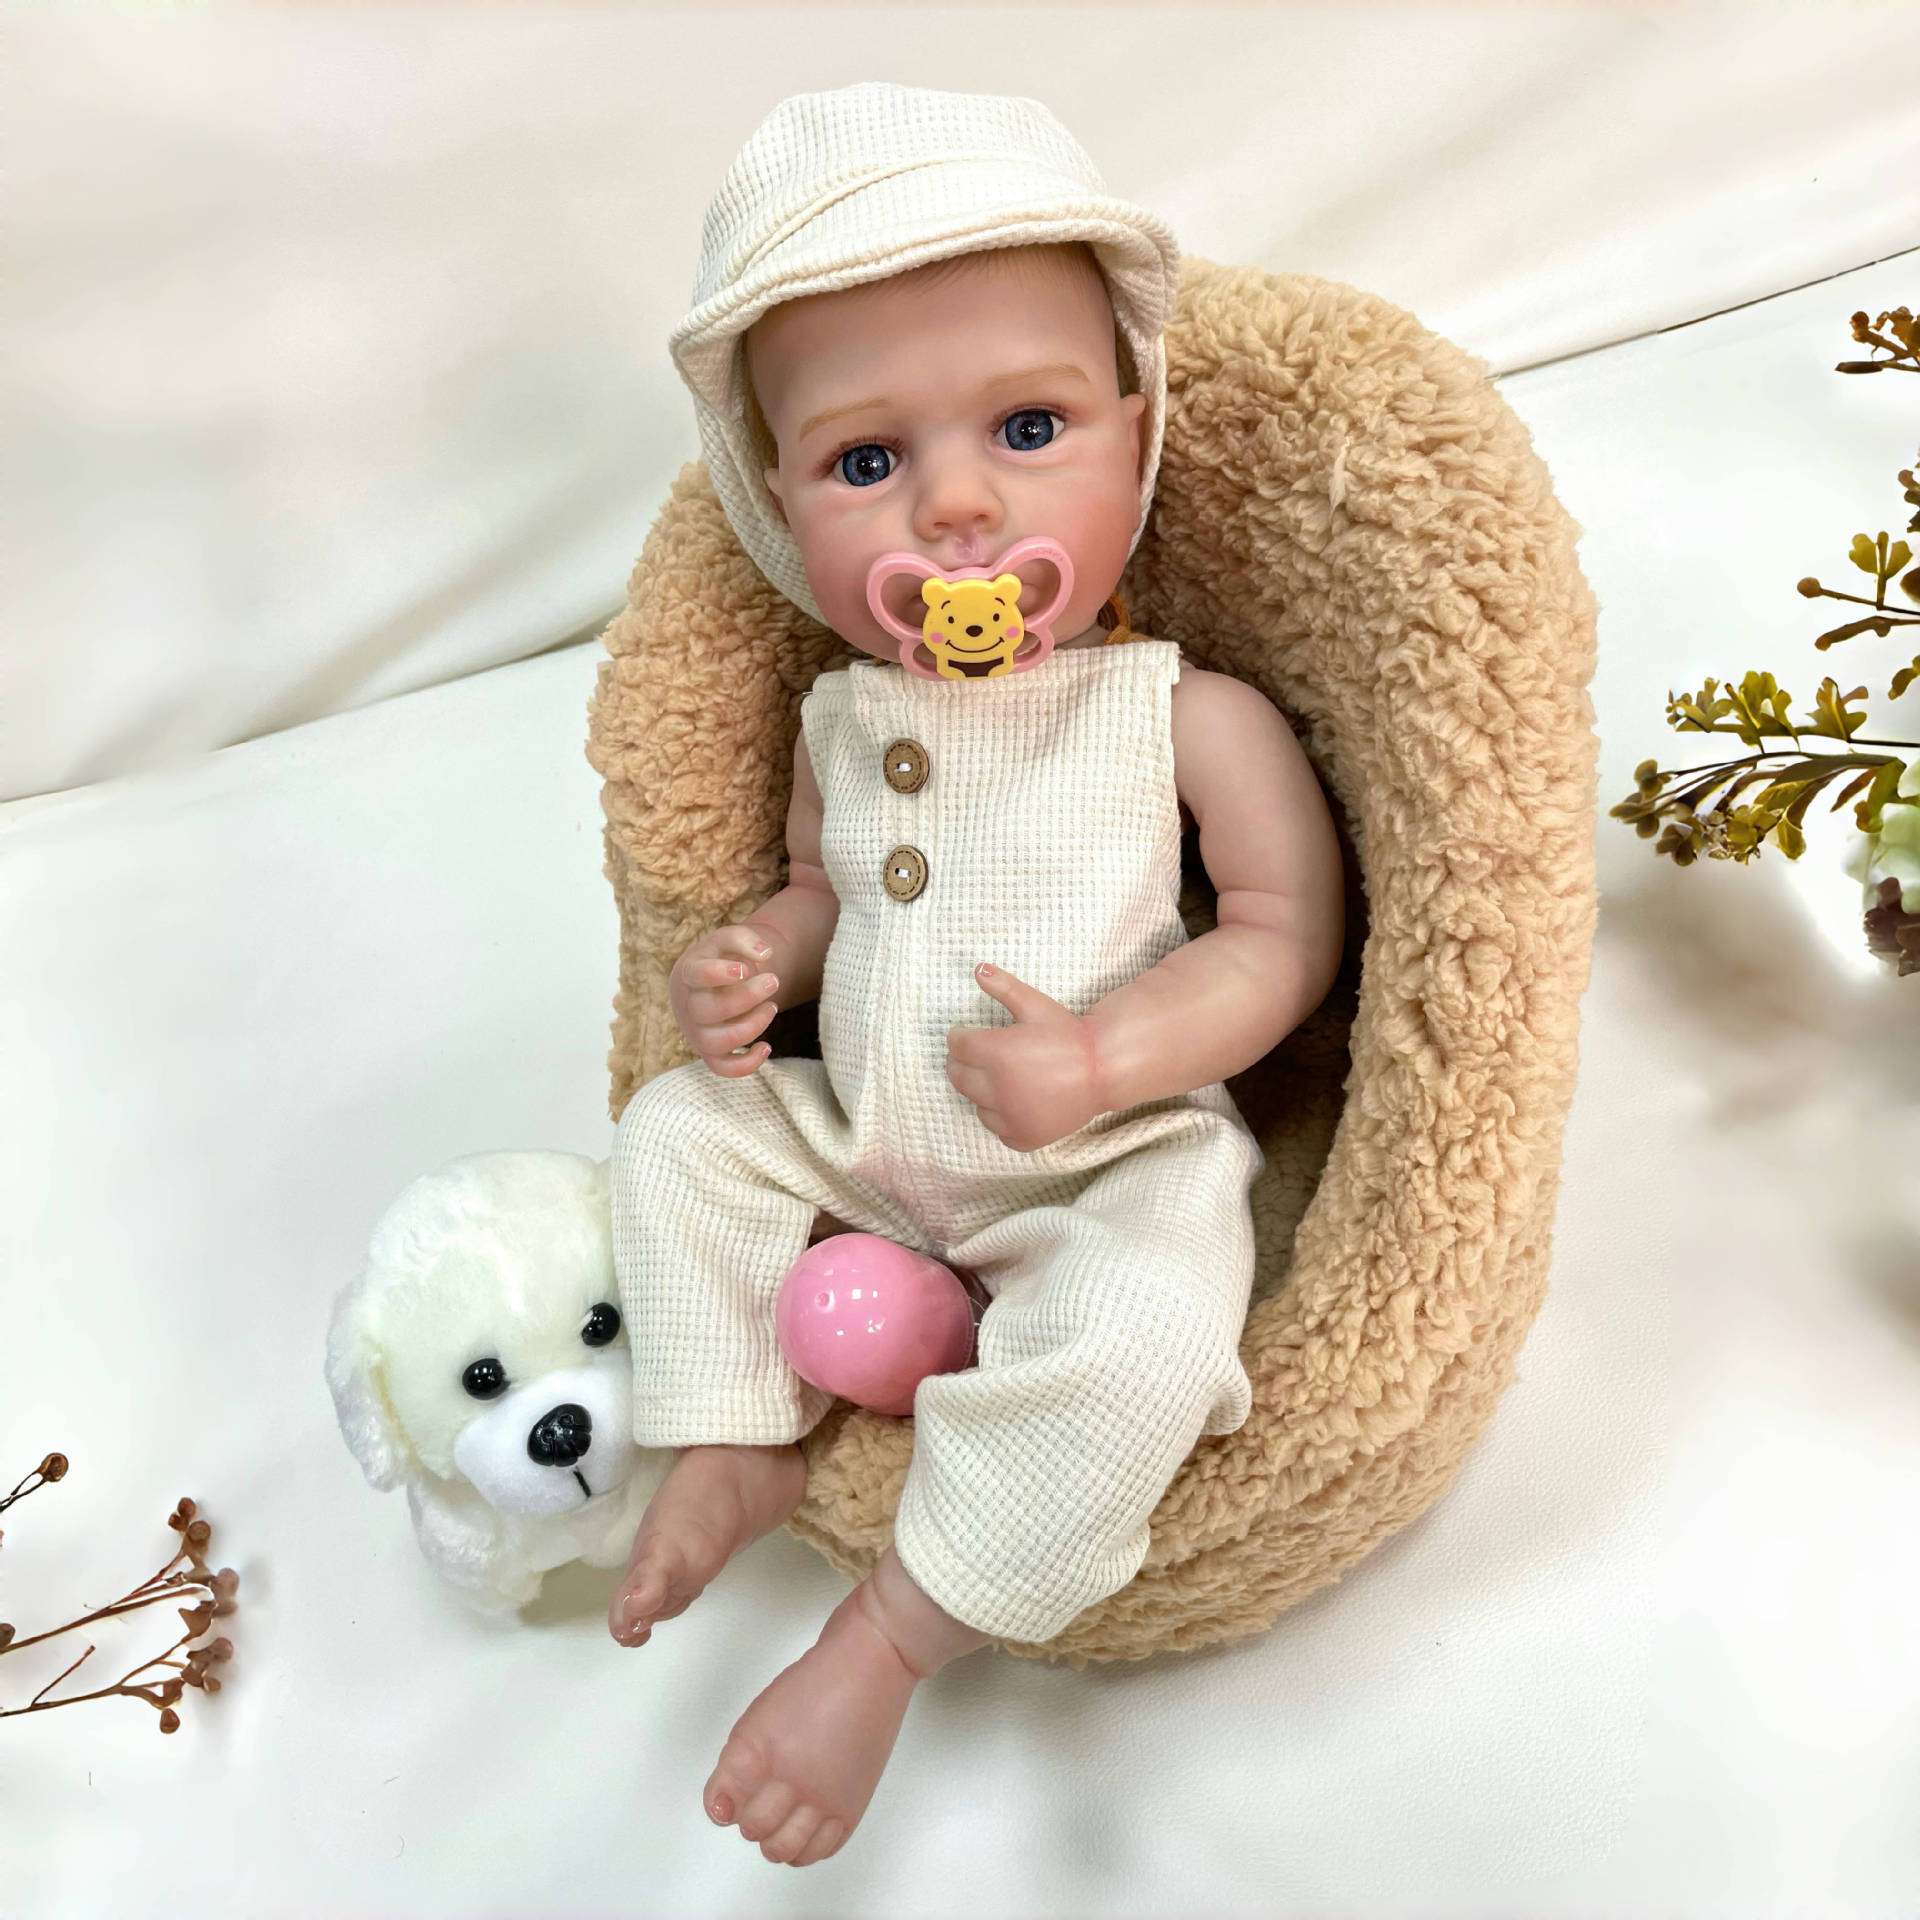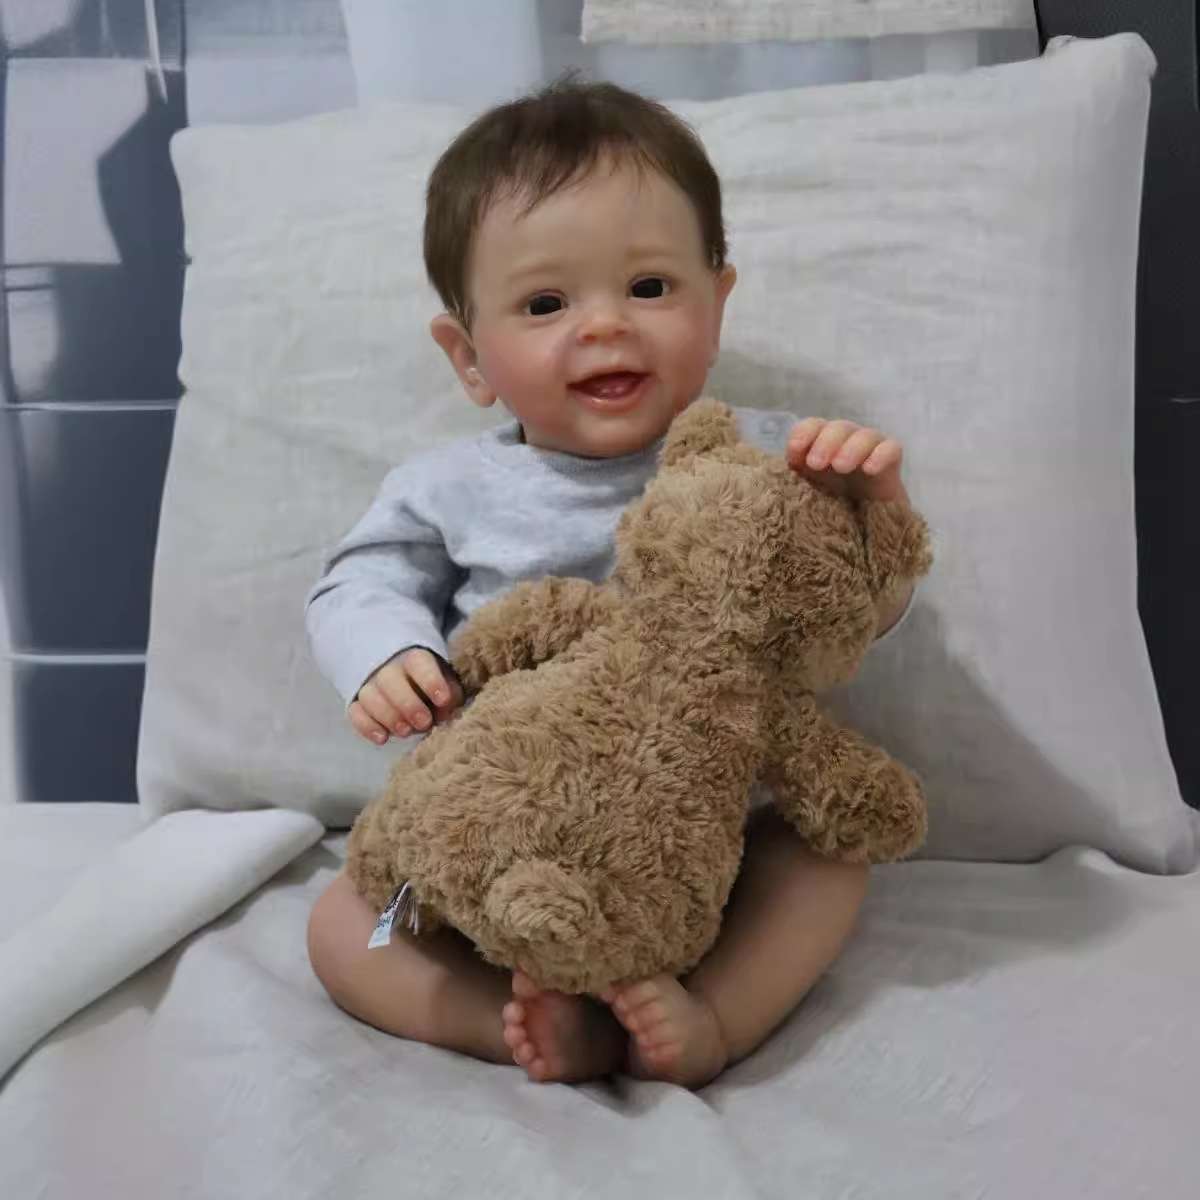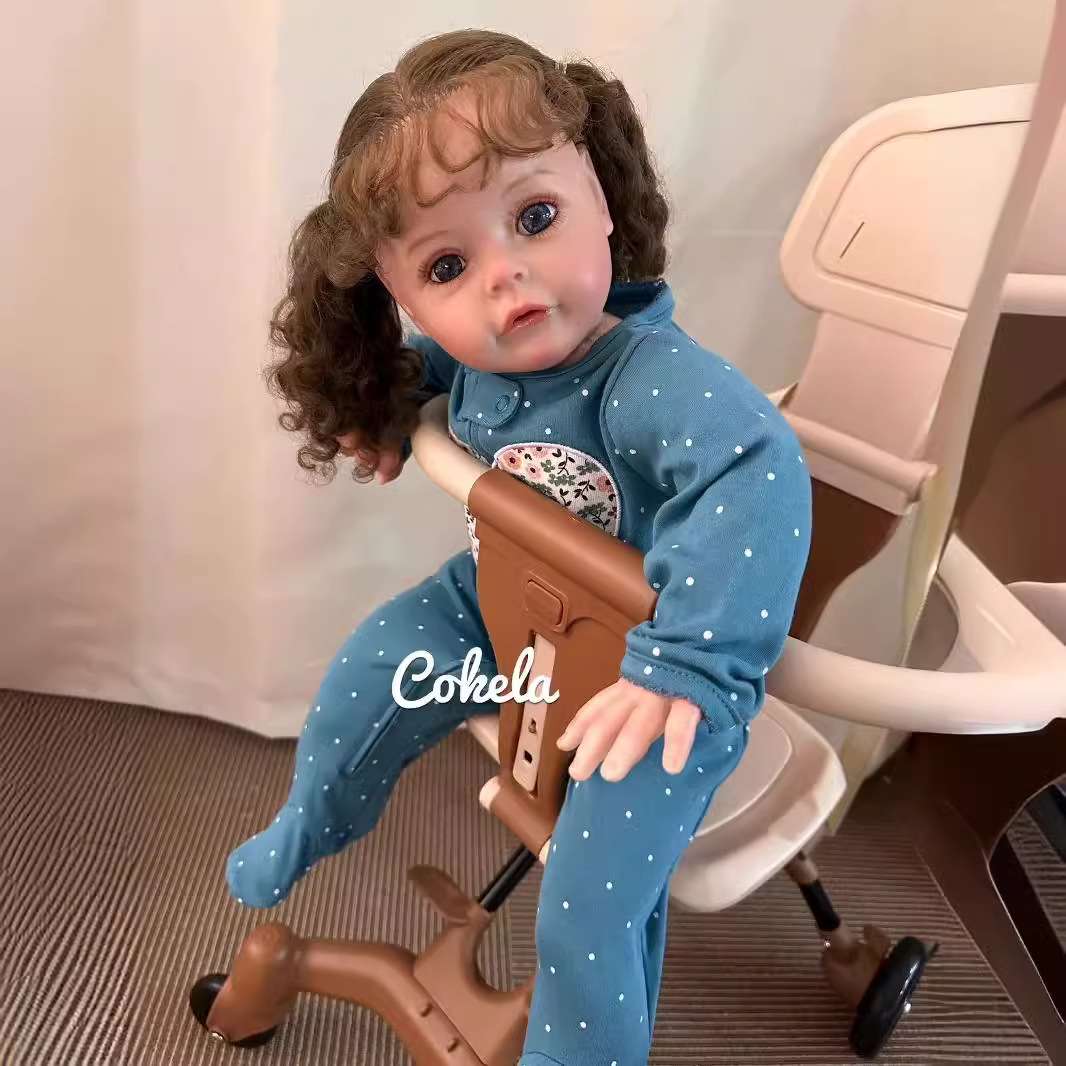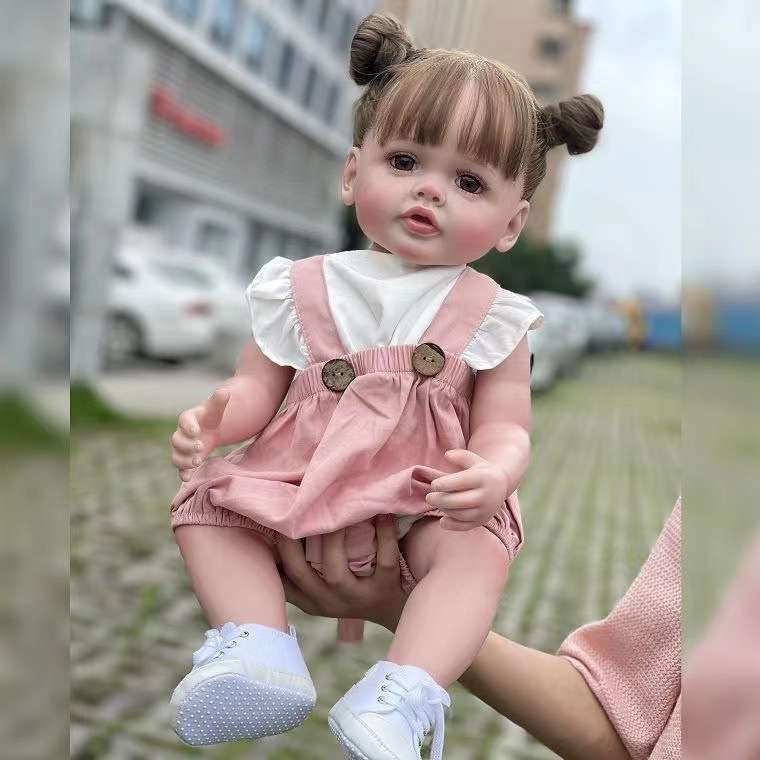
Creating your own realistic baby doll is a rewarding and creative journey that allows you to bring a lifelike figure to life with personal touches and intricate details. Whether you’re an art enthusiast, a collector, or simply drawn to the artistry behind lifelike dolls, crafting a realistic baby doll from scratch can be an exciting DIY project.
In this step-by-step guide, we’ll walk you through the essentials, from choosing the perfect doll kit and materials to mastering techniques like painting, detailing, and hair rooting.
By the end, you’ll have a beautiful, handmade doll that looks and feels surprisingly lifelike. Are you ready to become a cherished piece in your collection or a thoughtful, handcrafted gift? Let’s dive into the world of realistic baby doll making and discover how to get started!
What Are Realistic Baby Dolls?
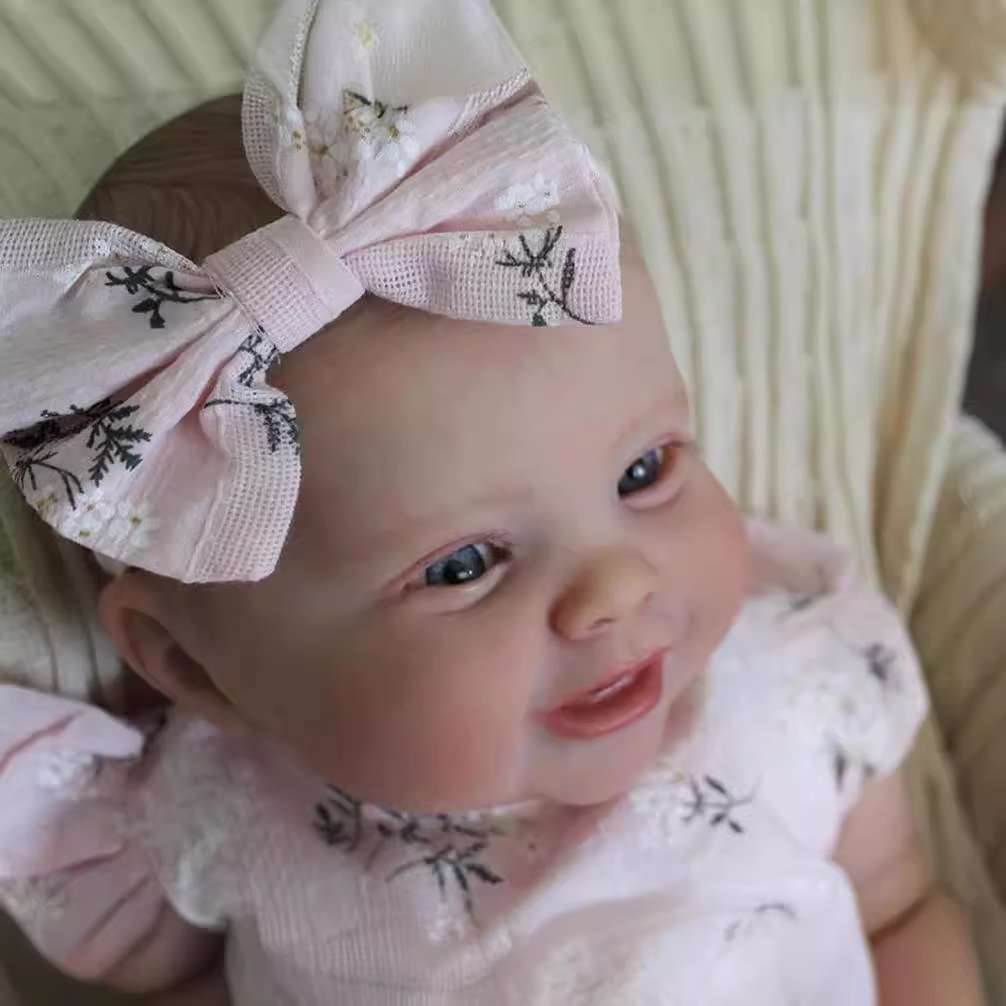
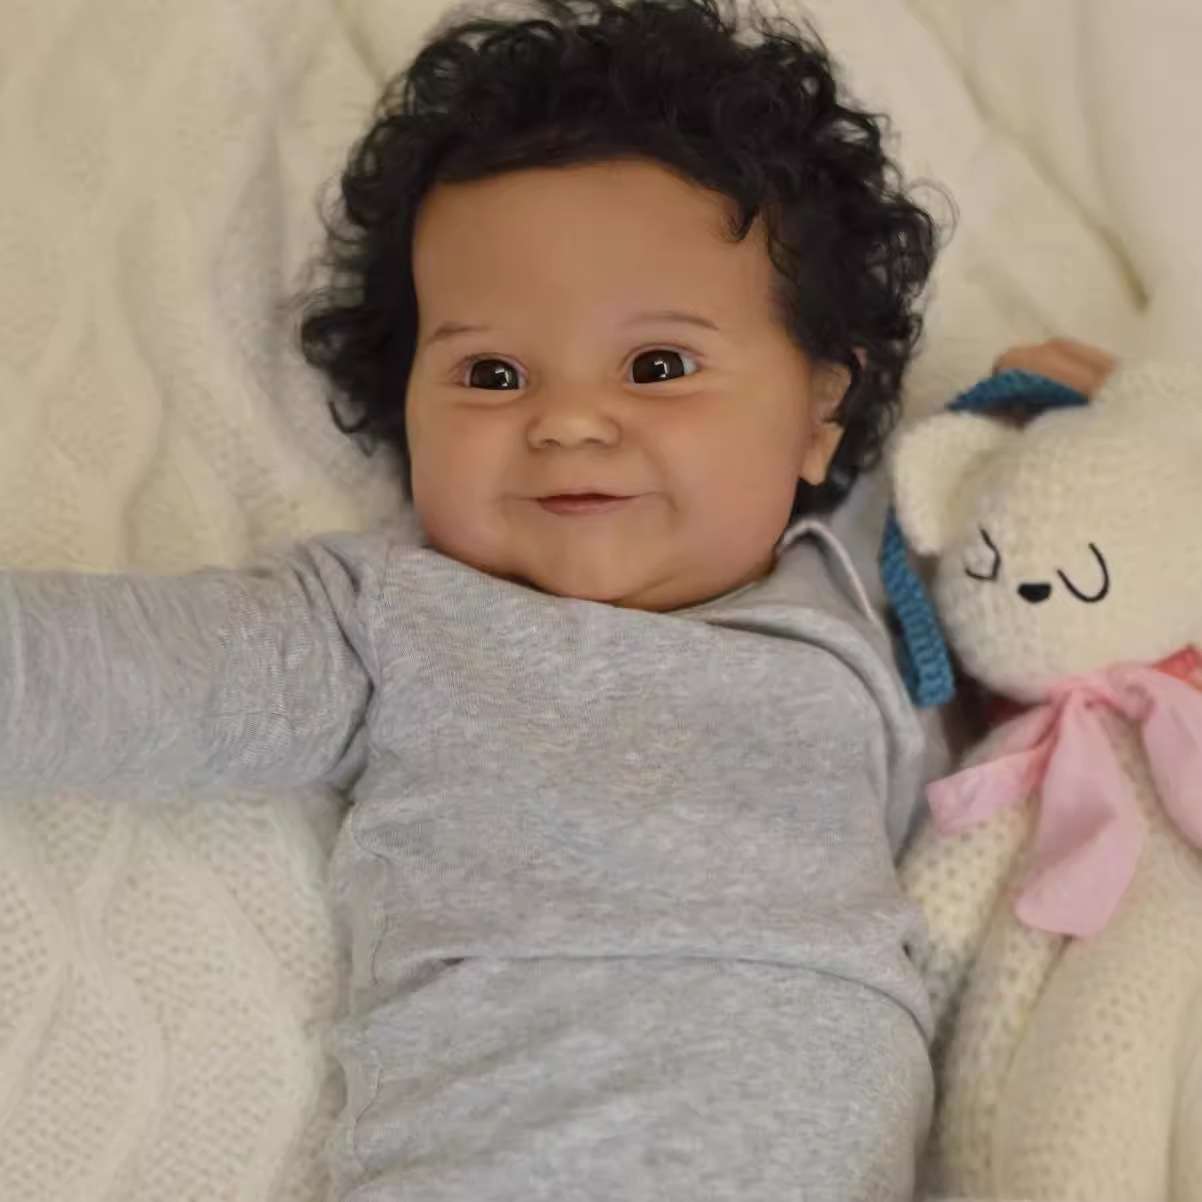
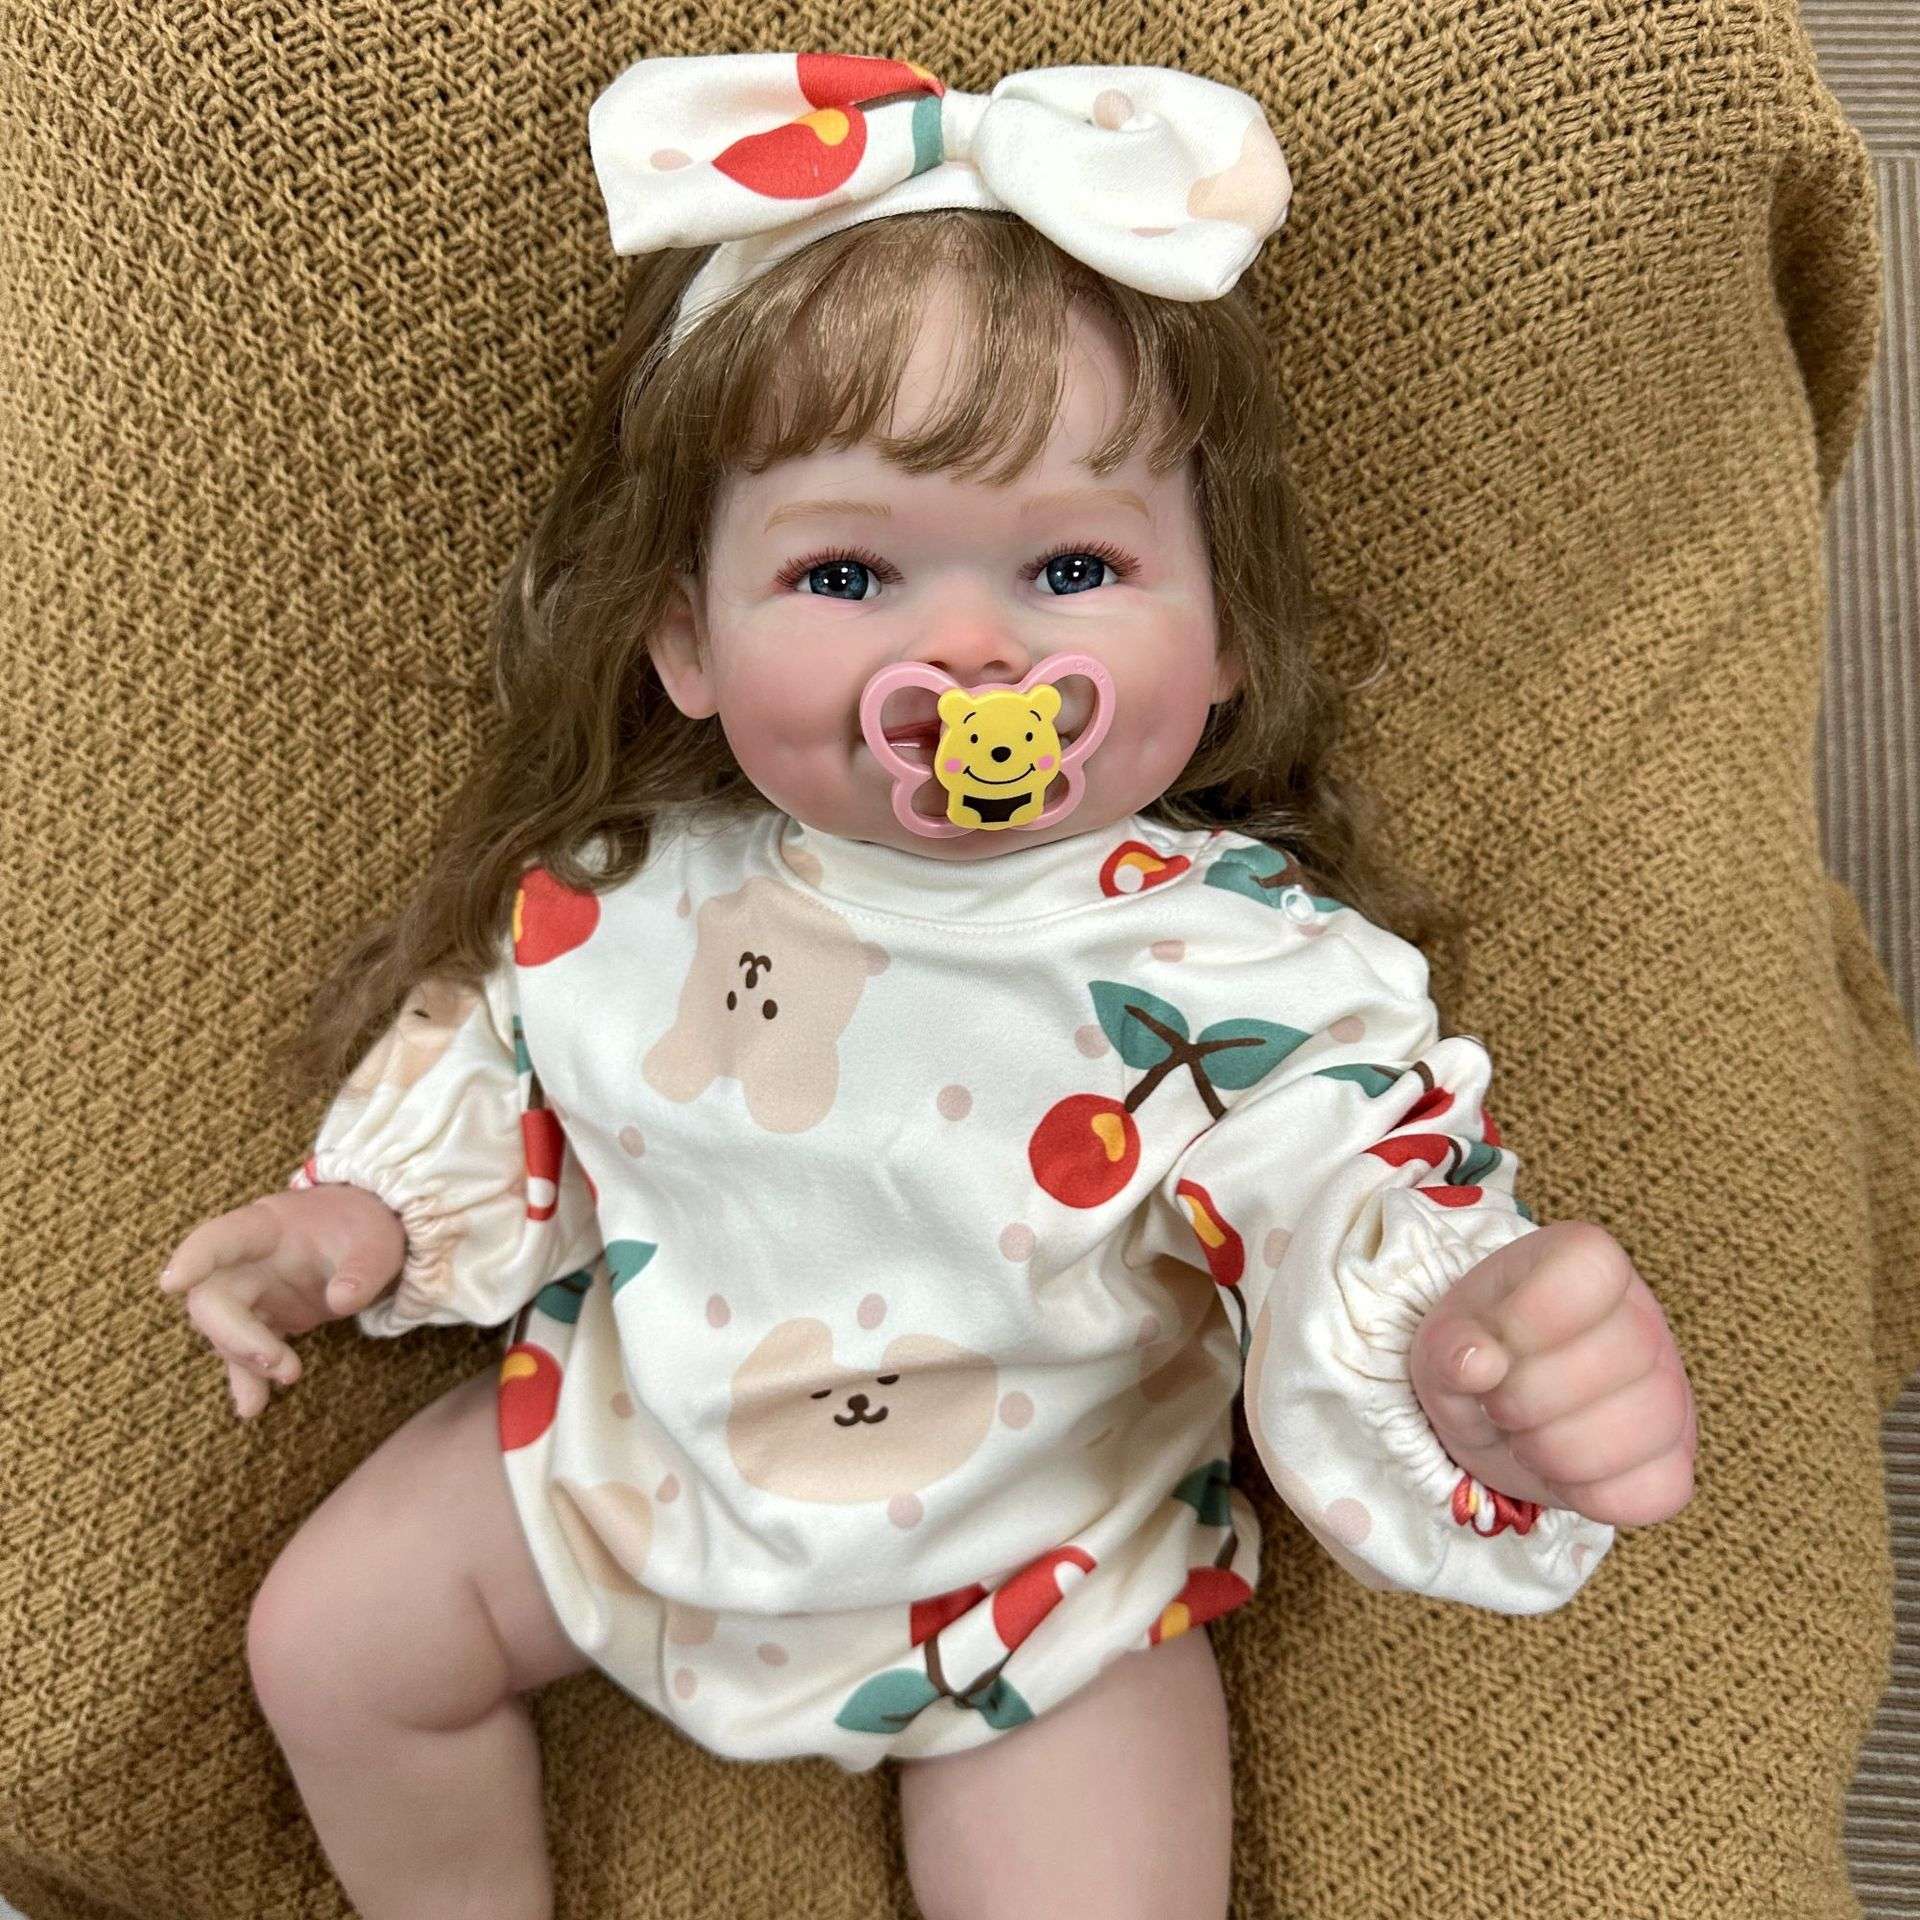
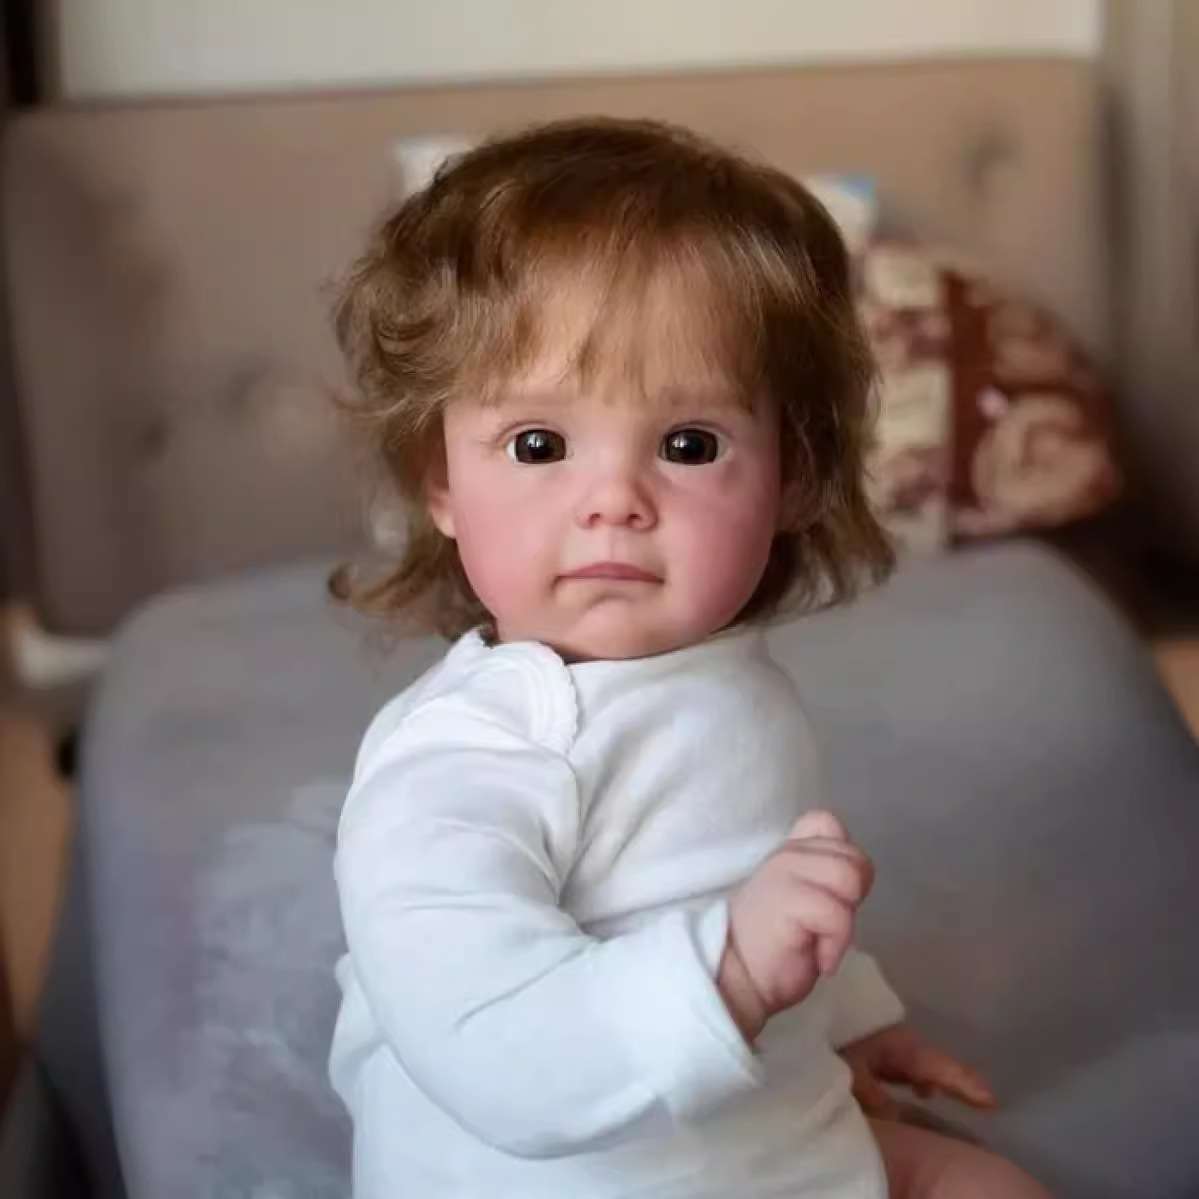
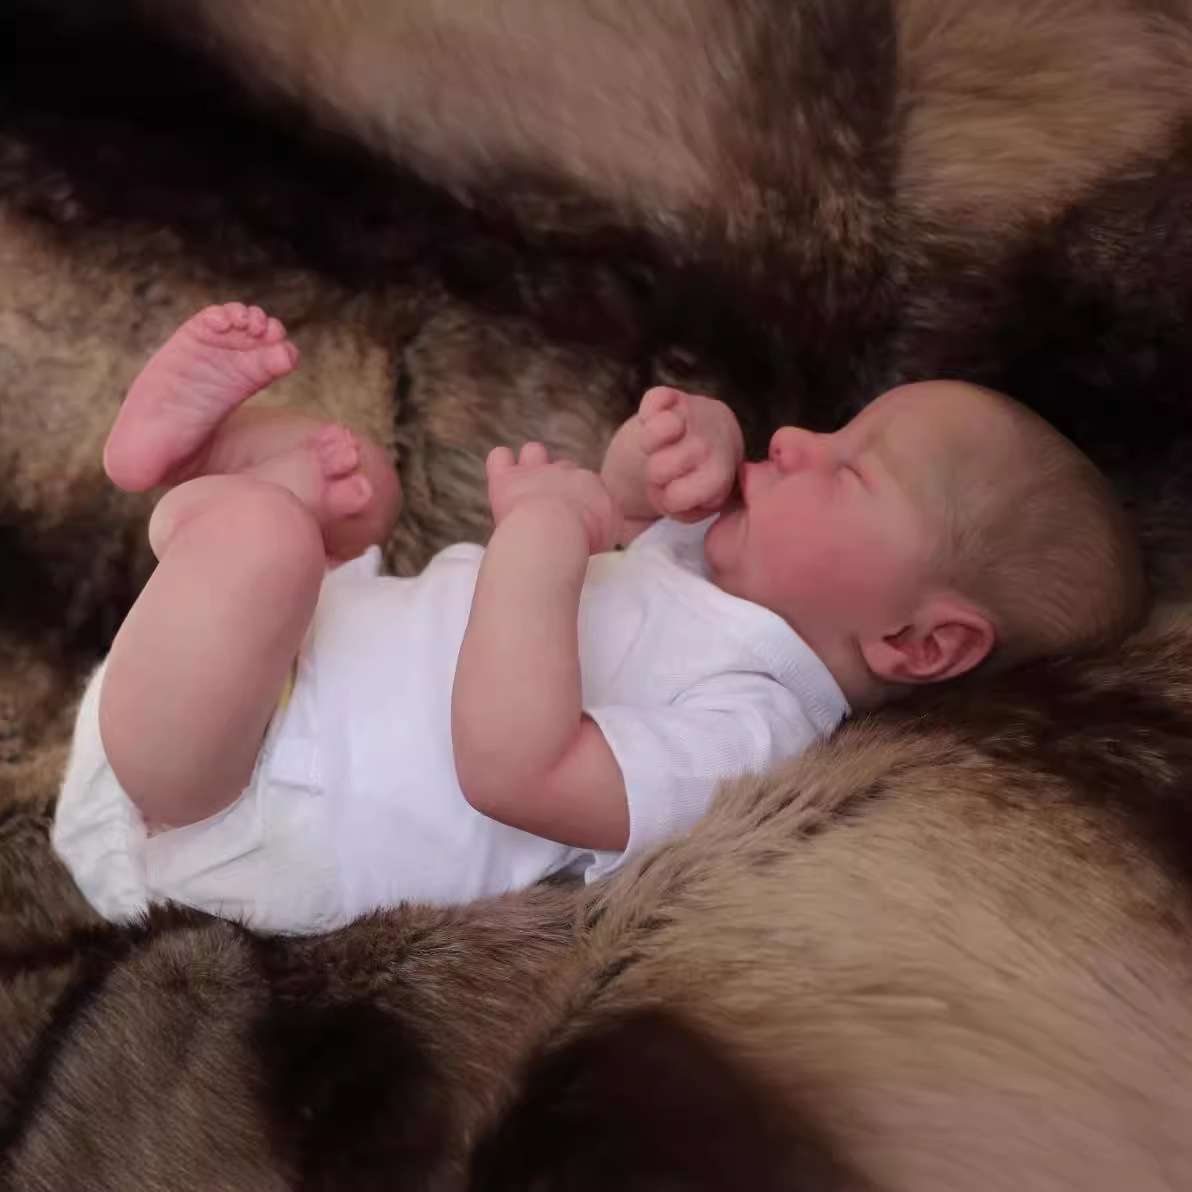
Realistic baby dolls, also known as reborn dolls, are meticulously crafted to resemble real infants with lifelike details, from delicate skin textures to fine hair and expressive facial features. These dolls are often created using high-quality vinyl or silicone and are painted in layers to achieve realistic skin tones, complete with veins, blushing, and even tiny wrinkles.
Their appeal goes beyond traditional doll collecting; many people are drawn to them for their therapeutic qualities, as they can provide comfort and companionship, particularly for individuals dealing with grief or anxiety. In recent years, realistic baby dolls have gained popularity as art pieces and collector’s items, as well as in the DIY crafting community, where people enjoy the satisfaction of creating a highly personalized, lifelike doll from scratch.
This blend of artistry, emotional connection, and customization makes realistic baby dolls an enduring and beloved hobby worldwide.
 What Materials Do You Need to Create ?
Creating a realistic baby doll requires a variety of specialized materials to achieve lifelike features and details. Some essentials materials required for making a realistic baby doll are listed hereunder:
- Doll Kit: A reborn doll kit typically includes the vinyl or silicone head, arms, and legs. These kits are available in various skin tones, sizes, and facial expressions, allowing you to customize the doll’s look.
- Heat-Set or Air-Dry Paints: For painting realistic skin tones, veining, and blush, heat-set paints (like Genesis Heat Set Paints) are popular because they dry with heat, providing a durable finish. Air-dry paints are also an option for beginners as they require no special equipment.
- Brushes and Sponges: You’ll need fine-tipped brushes for details like eyelashes and eyebrows, and sponges to create skin textures. Different brush sizes allow for precision in creating veins, shading, and other subtle details.
- Sealer and Matte Varnish: Sealers protect the paint layers and give the doll’s skin a soft, realistic finish. Matte varnishes can also help reduce shine on the doll’s skin.
- Mohair or Synthetic Hair: For a realistic look, you can root the doll’s head with mohair or fine synthetic fibers. Mohair is soft and resembles newborn hair, making it a popular choice among doll artists.
- Rooting Needles: These are used to implant individual strands of hair into the doll’s scalp, adding to its realistic appearance. Different needle gauges will allow for varying hair densities.
- Weighing Materials: To give the doll a lifelike weight, you’ll need materials like fine glass beads or poly pellets for filling the head, limbs, and body, plus fiberfill stuffing for softness.
- Soft Body Cloth: If your doll kit does not include a body, you may need a soft, jointed body cloth that connects to the doll’s head and limbs, allowing for natural movement.
- Magnets: Some artists use magnets inside the doll’s head to attach pacifiers or bows, enhancing the doll’s interactive qualities.
- Sealing Glue: Strong glue is necessary to seal and secure the hair and to close any open areas, ensuring durability.
With these materials, you can bring your realistic baby doll to life, giving it unique and lifelike features. Each item plays an essential role in transforming a simple doll kit into a cherished, lifelike creation.
 How Do You Choose the Right Doll Kit for Your DIY Project?
Choosing the right doll kit is an important first step in creating a simulation baby doll and can greatly influence the final look and feel of your project. When selecting a kit, consider the size and expression of the doll you want. Kits range from premature baby sizes to larger toddler dolls, each with unique facial expressions and poses.
Look for kits made from high-quality vinyl or silicone, as these materials are durable and easy to work with for detailed painting and rooting. For beginners, it’s often helpful to choose a kit that comes with pre-molded details like open or closed eyes, and realistic creases, which make the doll appear more lifelike. Also, some kits come with matching bodies and joints that make assembly easier, ensuring a more natural movement.
Lastly, many artists recommend checking reviews or joining online communities where reborn artists share experiences with various brands and specific kits. By considering these factors, you’ll find a doll kit that aligns with your skill level and artistic vision, setting a solid foundation for your DIY project.
What Techniques Are Used to Paint Realistic Skin Tones on Baby Dolls?
Painting realistic skin tones on baby dolls requires a layering technique to achieve depth and lifelike color. Artists often begin with a neutral base layer, which prepares the vinyl or silicone surface for additional color layers. Then, using either heat-set or air-dry paints, they gradually build up layers to mimic the subtle variations in human skin.
Dab different shades of pinks, reds, and purples with sponges to create a mottling effect, giving a natural, blotchy undertone that resembles the delicate skin of an infant. Adding veins and capillaries in light blue or green tones further enhances realism, especially around areas like the wrists, forehead, and ankles.
Apply shading around creases, eyelids, and other areas to add depth, while blush warms the cheeks, nose, and hands. Use a matte varnish to reduce shine for texture, and apply gloss to the lips and nails for a moist appearance.
Each layer is carefully heat-set or air-dried to lock in color, resulting in a skin tone that is realistic, nuanced, and durable.
 How Can You Add Fine Details to Make Your Doll Look More Realistic?
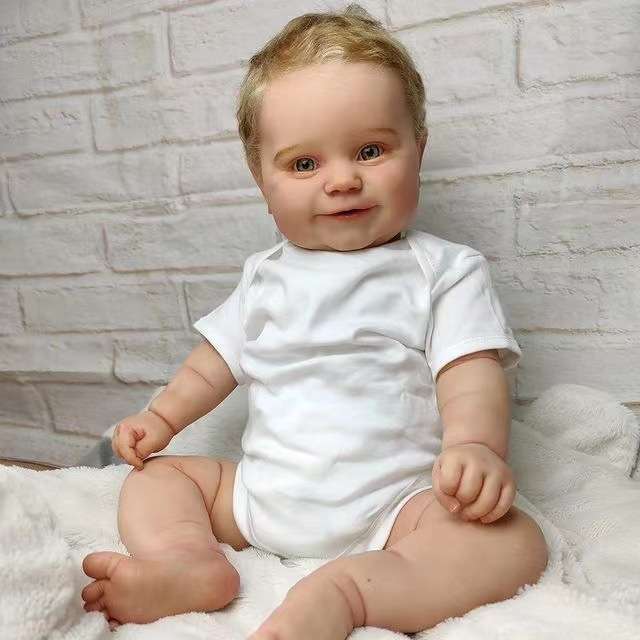
Adding fine details is essential to making a lifelike baby doll for sale look lifelike and captivating. Small touches like painting tiny veins, capillaries, and subtle blue undertones on the hands, feet, and temples. These details can mimic the look of real infant skin.
Adding texture is also key. Artists often use sponges and fine brushes to create skin mottling and gentle blushing on cheeks, knees, and elbows. Realistic hair rooting adds another level of detail. You can use ultra-fine needles to implant individual strands of mohair or synthetic fibers into the scalp which gives the doll a soft, newborn appearance.
Attention to nails and lips also enhances realism; applying a light gloss to the lips and nails adds a moist look, while painting faint, crescent-shaped lunulas on the nails mimics natural nail beds. Artists often use a matte varnish to seal and protect these details, ensuring they withstand handling while maintaining a soft, skin-like finish.
These delicate details bring out the personality and charm of the doll, transforming it from a crafted piece into a lifelike replica.
What’s the Best Way to Root or Attach Hair for a Realistic Look?
Rooting hair is one of the most effective techniques for giving a realistic baby doll a lifelike appearance. The process involves using ultra-fine, barbed needles to carefully insert individual strands of mohair or synthetic hair into the scalp. Typically, the hair is inserted in very fine sections to create a soft, newborn look.
Artists often start by mapping out a hair pattern, focusing on natural hair growth directions. This includes swirls or “crowns” at the back of the head. To achieve a realistic effect, it’s important to root each strand at a slight angle. This mimics natural hair growth and helps the hair lay flat against the scalp. For a more durable finish, some artists apply a thin layer of glue inside the doll’s head to hold the hair securely in place once rooting is complete.
Root the hair sparsely for a wispy, newborn style or thicker for older, fuller hairstyles, depending on the desired look. After rooting, trimming and gentle styling with water or a mild conditioner can help refine the appearance. This meticulous technique, though time-consuming, results in a beautifully realistic head of hair. It enhances the overall lifelike quality of the doll.
 How Do You Assemble Your Realistic Baby Doll After Painting?
Assembling your realistic newborn doll after painting involves carefully putting together the painted parts. While also ensuring everything is securely attached and positioned for natural movement.
First, make sure all the painted layers are completely dry before starting the assembly process. Begin by attaching the limbs to the body using zip ties or string. Ensure that the joints are tightly secured but still allow for smooth movement. For dolls with a soft cloth body, carefully fill the body with a combination of soft stuffing. Add weighted materials like glass beads or poly pellets. This will give the doll a realistic feel and weight.
The head, often the trickiest part, is usually attached last. If you’ve rooted hair, be careful not to damage the delicate strands during this process. Once you securely attach the head of the reborn doll, check for balance. Adjust the stuffing or weighting as needed to ensure the doll sits or lays naturally.
Finally, you can add finishing touches like inserting a magnet for a pacifier. Apply a small amount of gloss to the eyes and lips to enhance the doll’s realism.
The assembly process requires patience and precision. When done correctly, it results in a fully articulated and lifelike baby doll.
Conclusion:
In conclusion, creating a realistic baby doll is a rewarding and intricate process. It allows for immense creativity and attention to detail. From choosing the right doll kit to perfecting the fine details and assembly, each step plays a crucial role in achieving a lifelike and beautifully crafted result.
Whether you’re an experienced artist or a beginner, with patience and dedication, you can bring your vision to life.
If you’re interested in purchasing high-quality reborn dolls, then what are you waiting for? Contact Child House today to get a quote!
Hits: 98

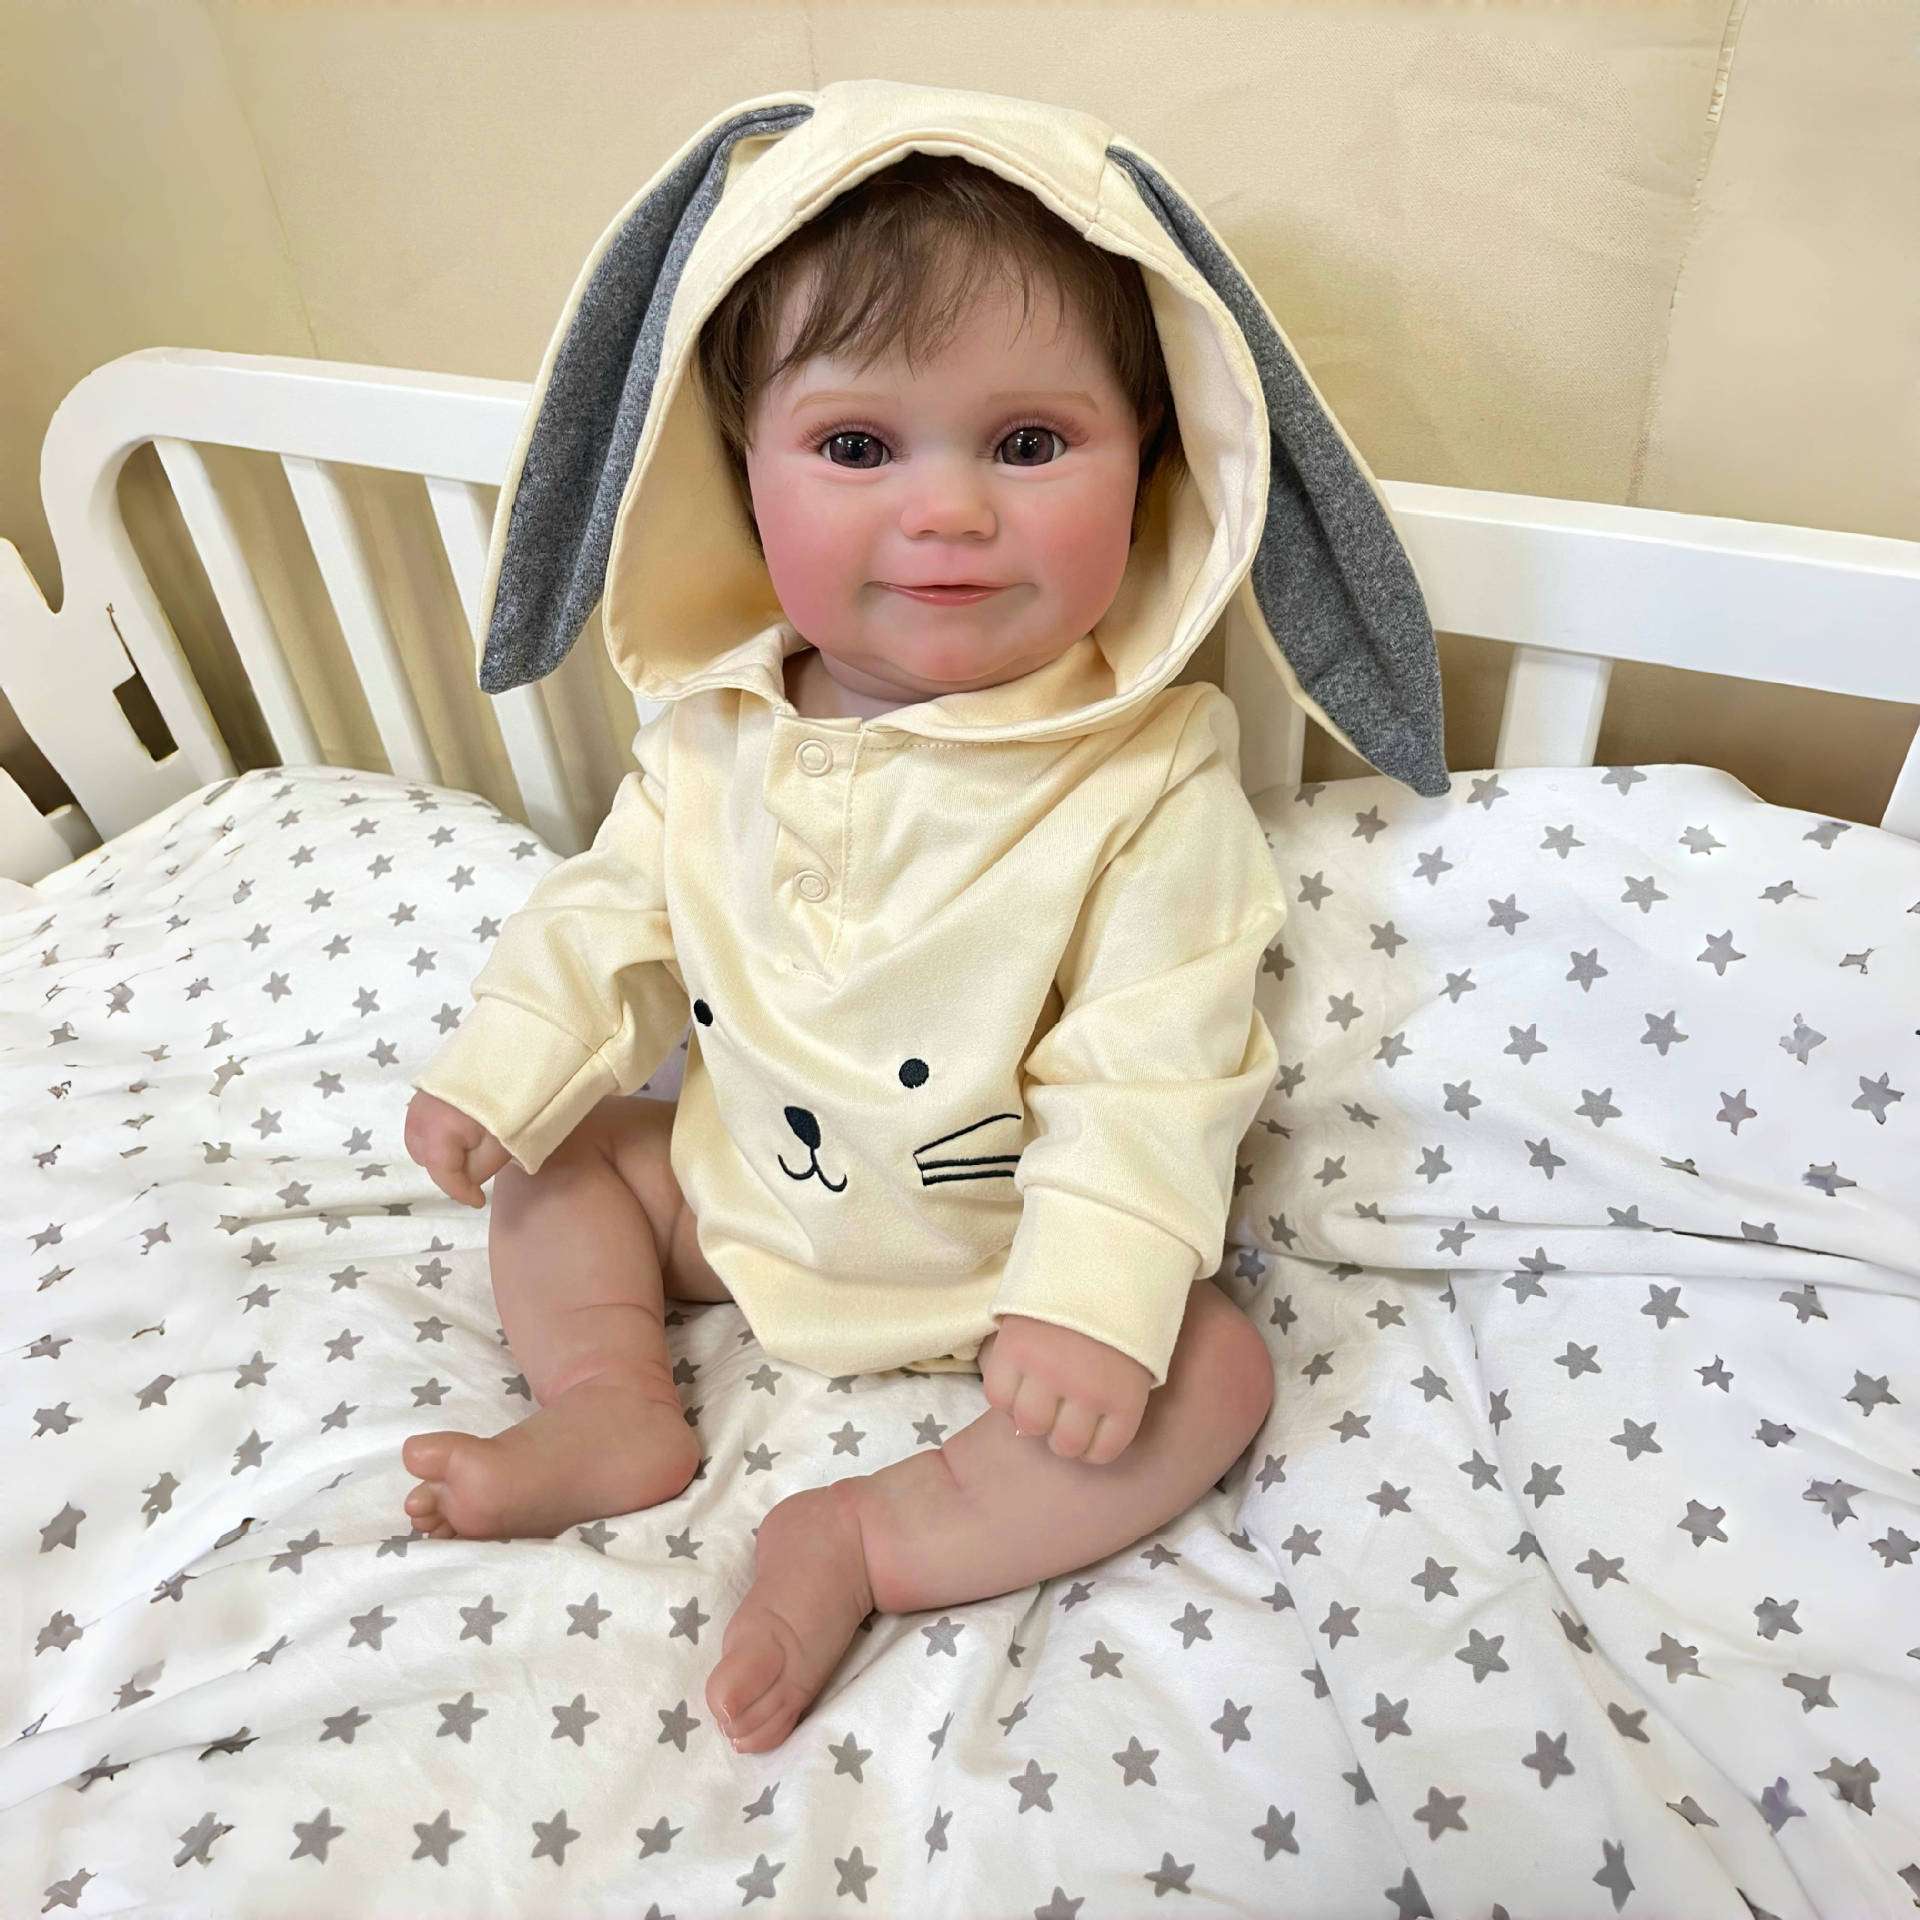 What Materials Do You Need to Create ?
 How Do You Choose the Right Doll Kit for Your DIY Project?
 How Can You Add Fine Details to Make Your Doll Look More Realistic?
 How Do You Assemble Your Realistic Baby Doll After Painting?