Introduction
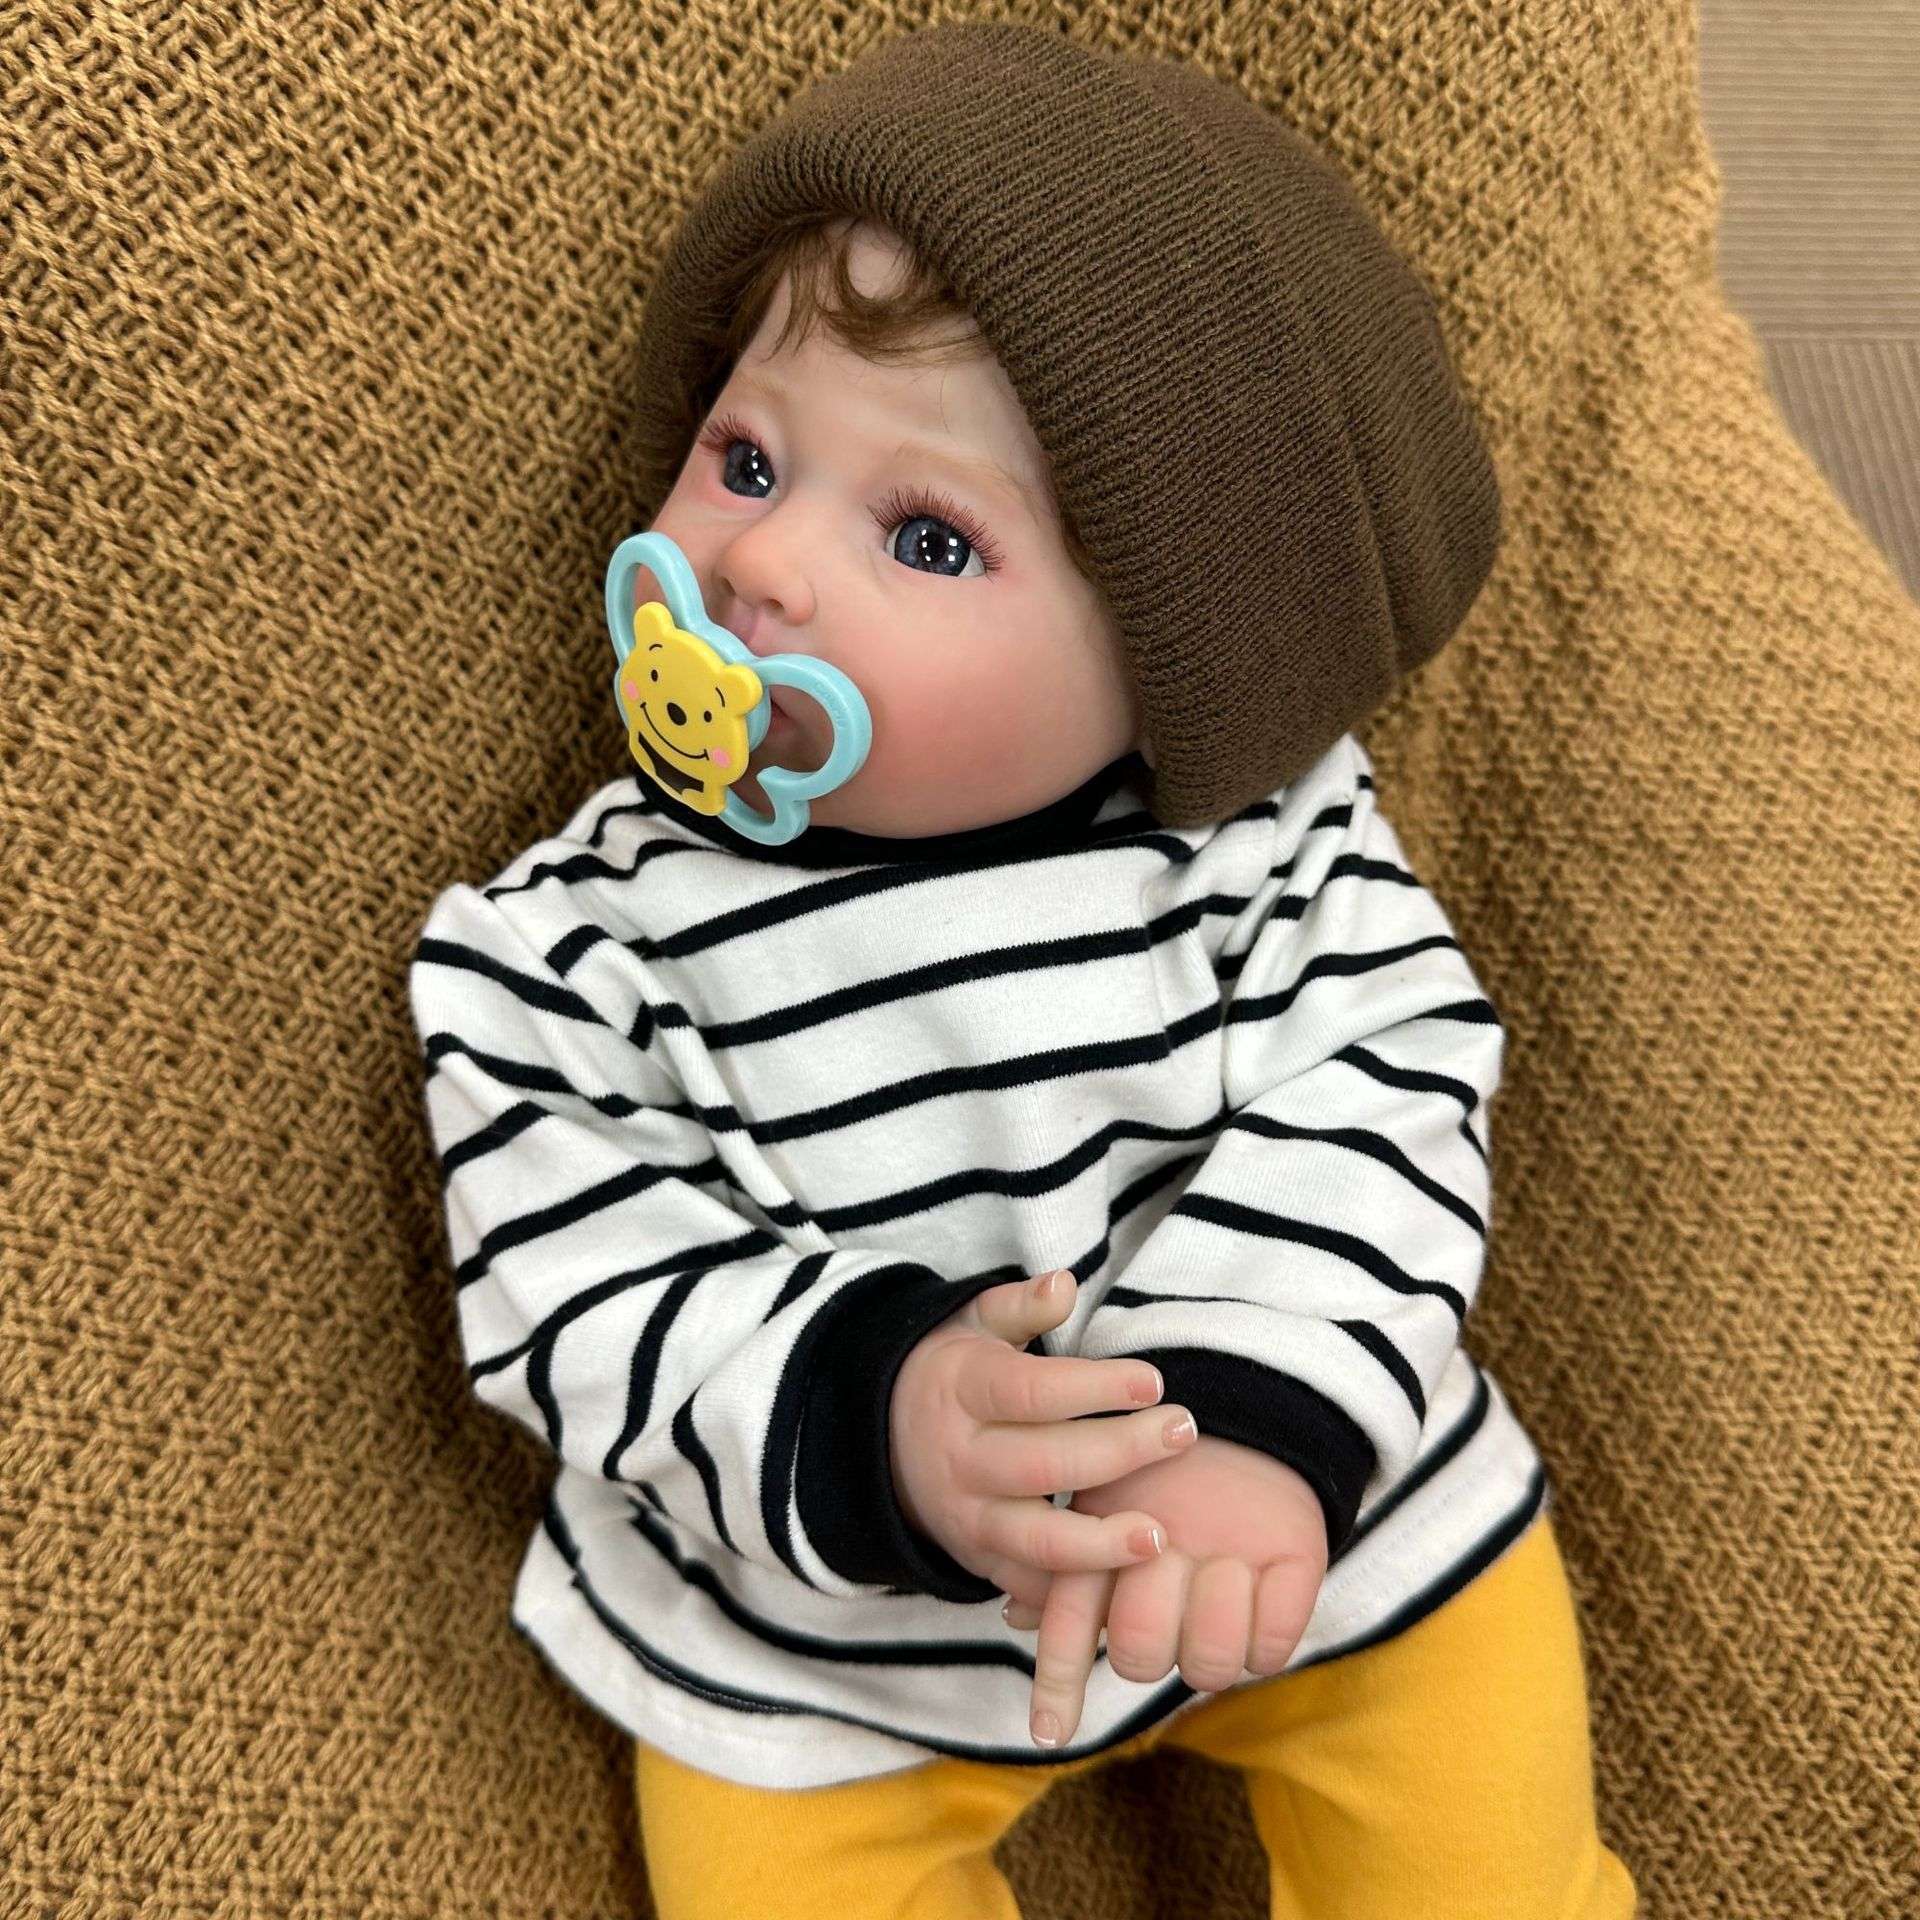
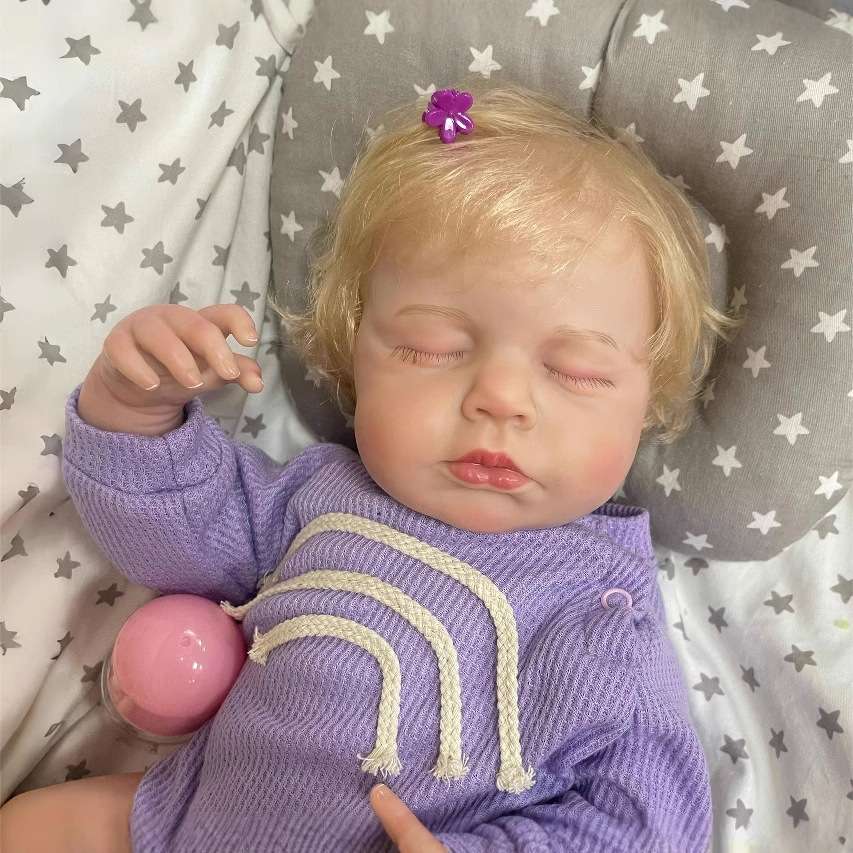
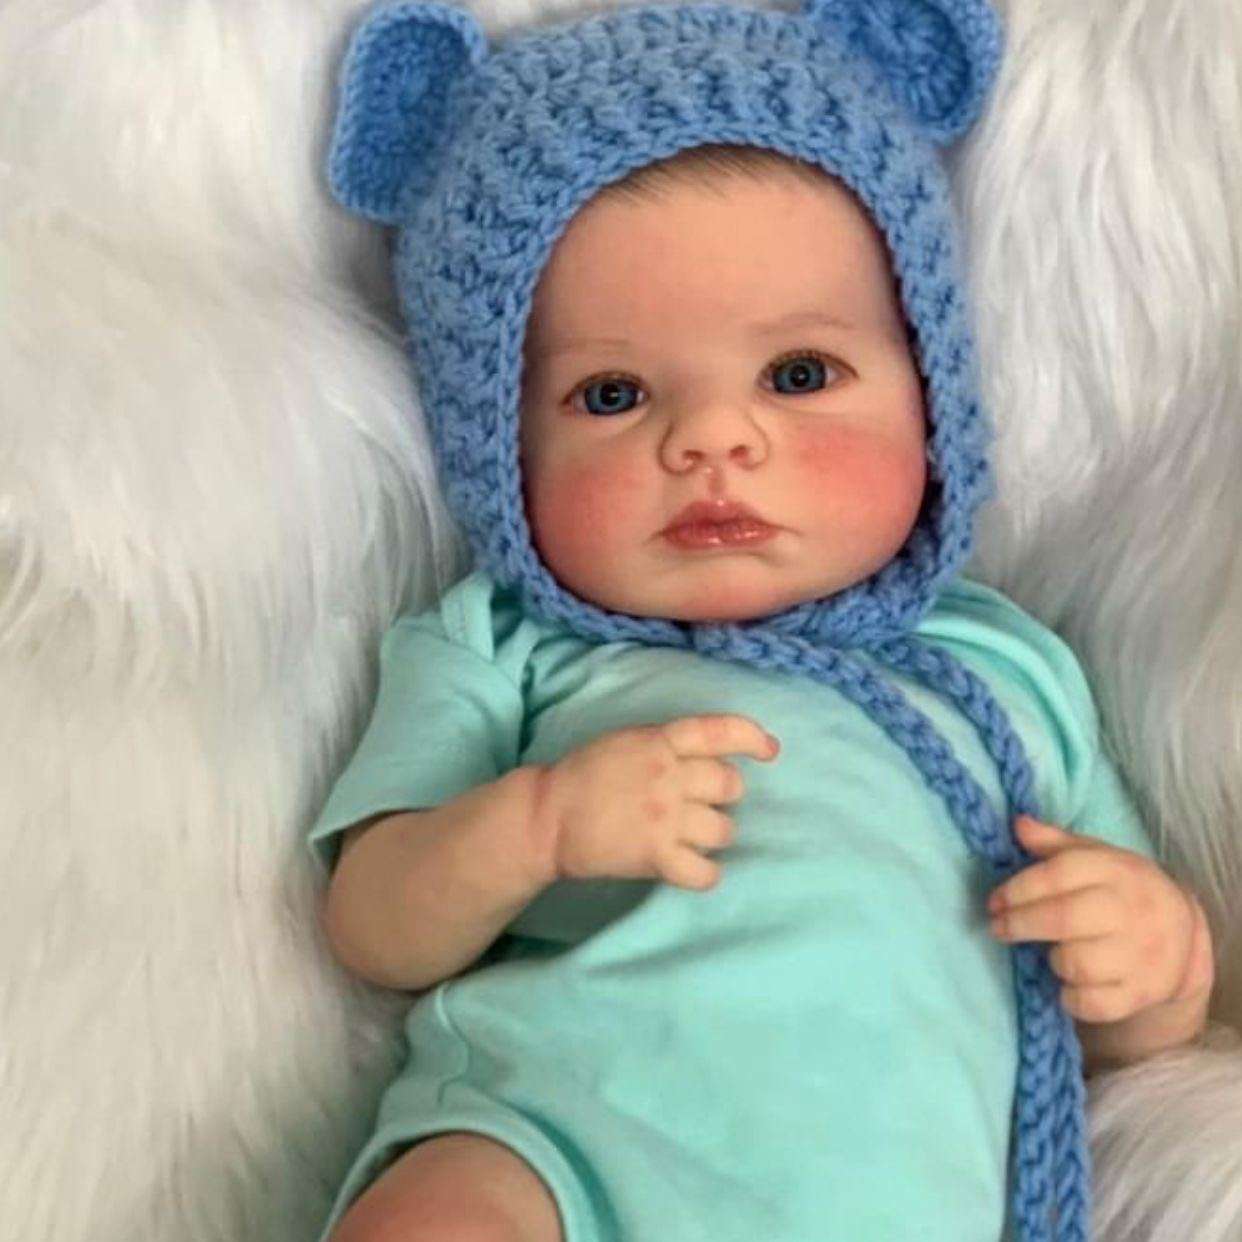
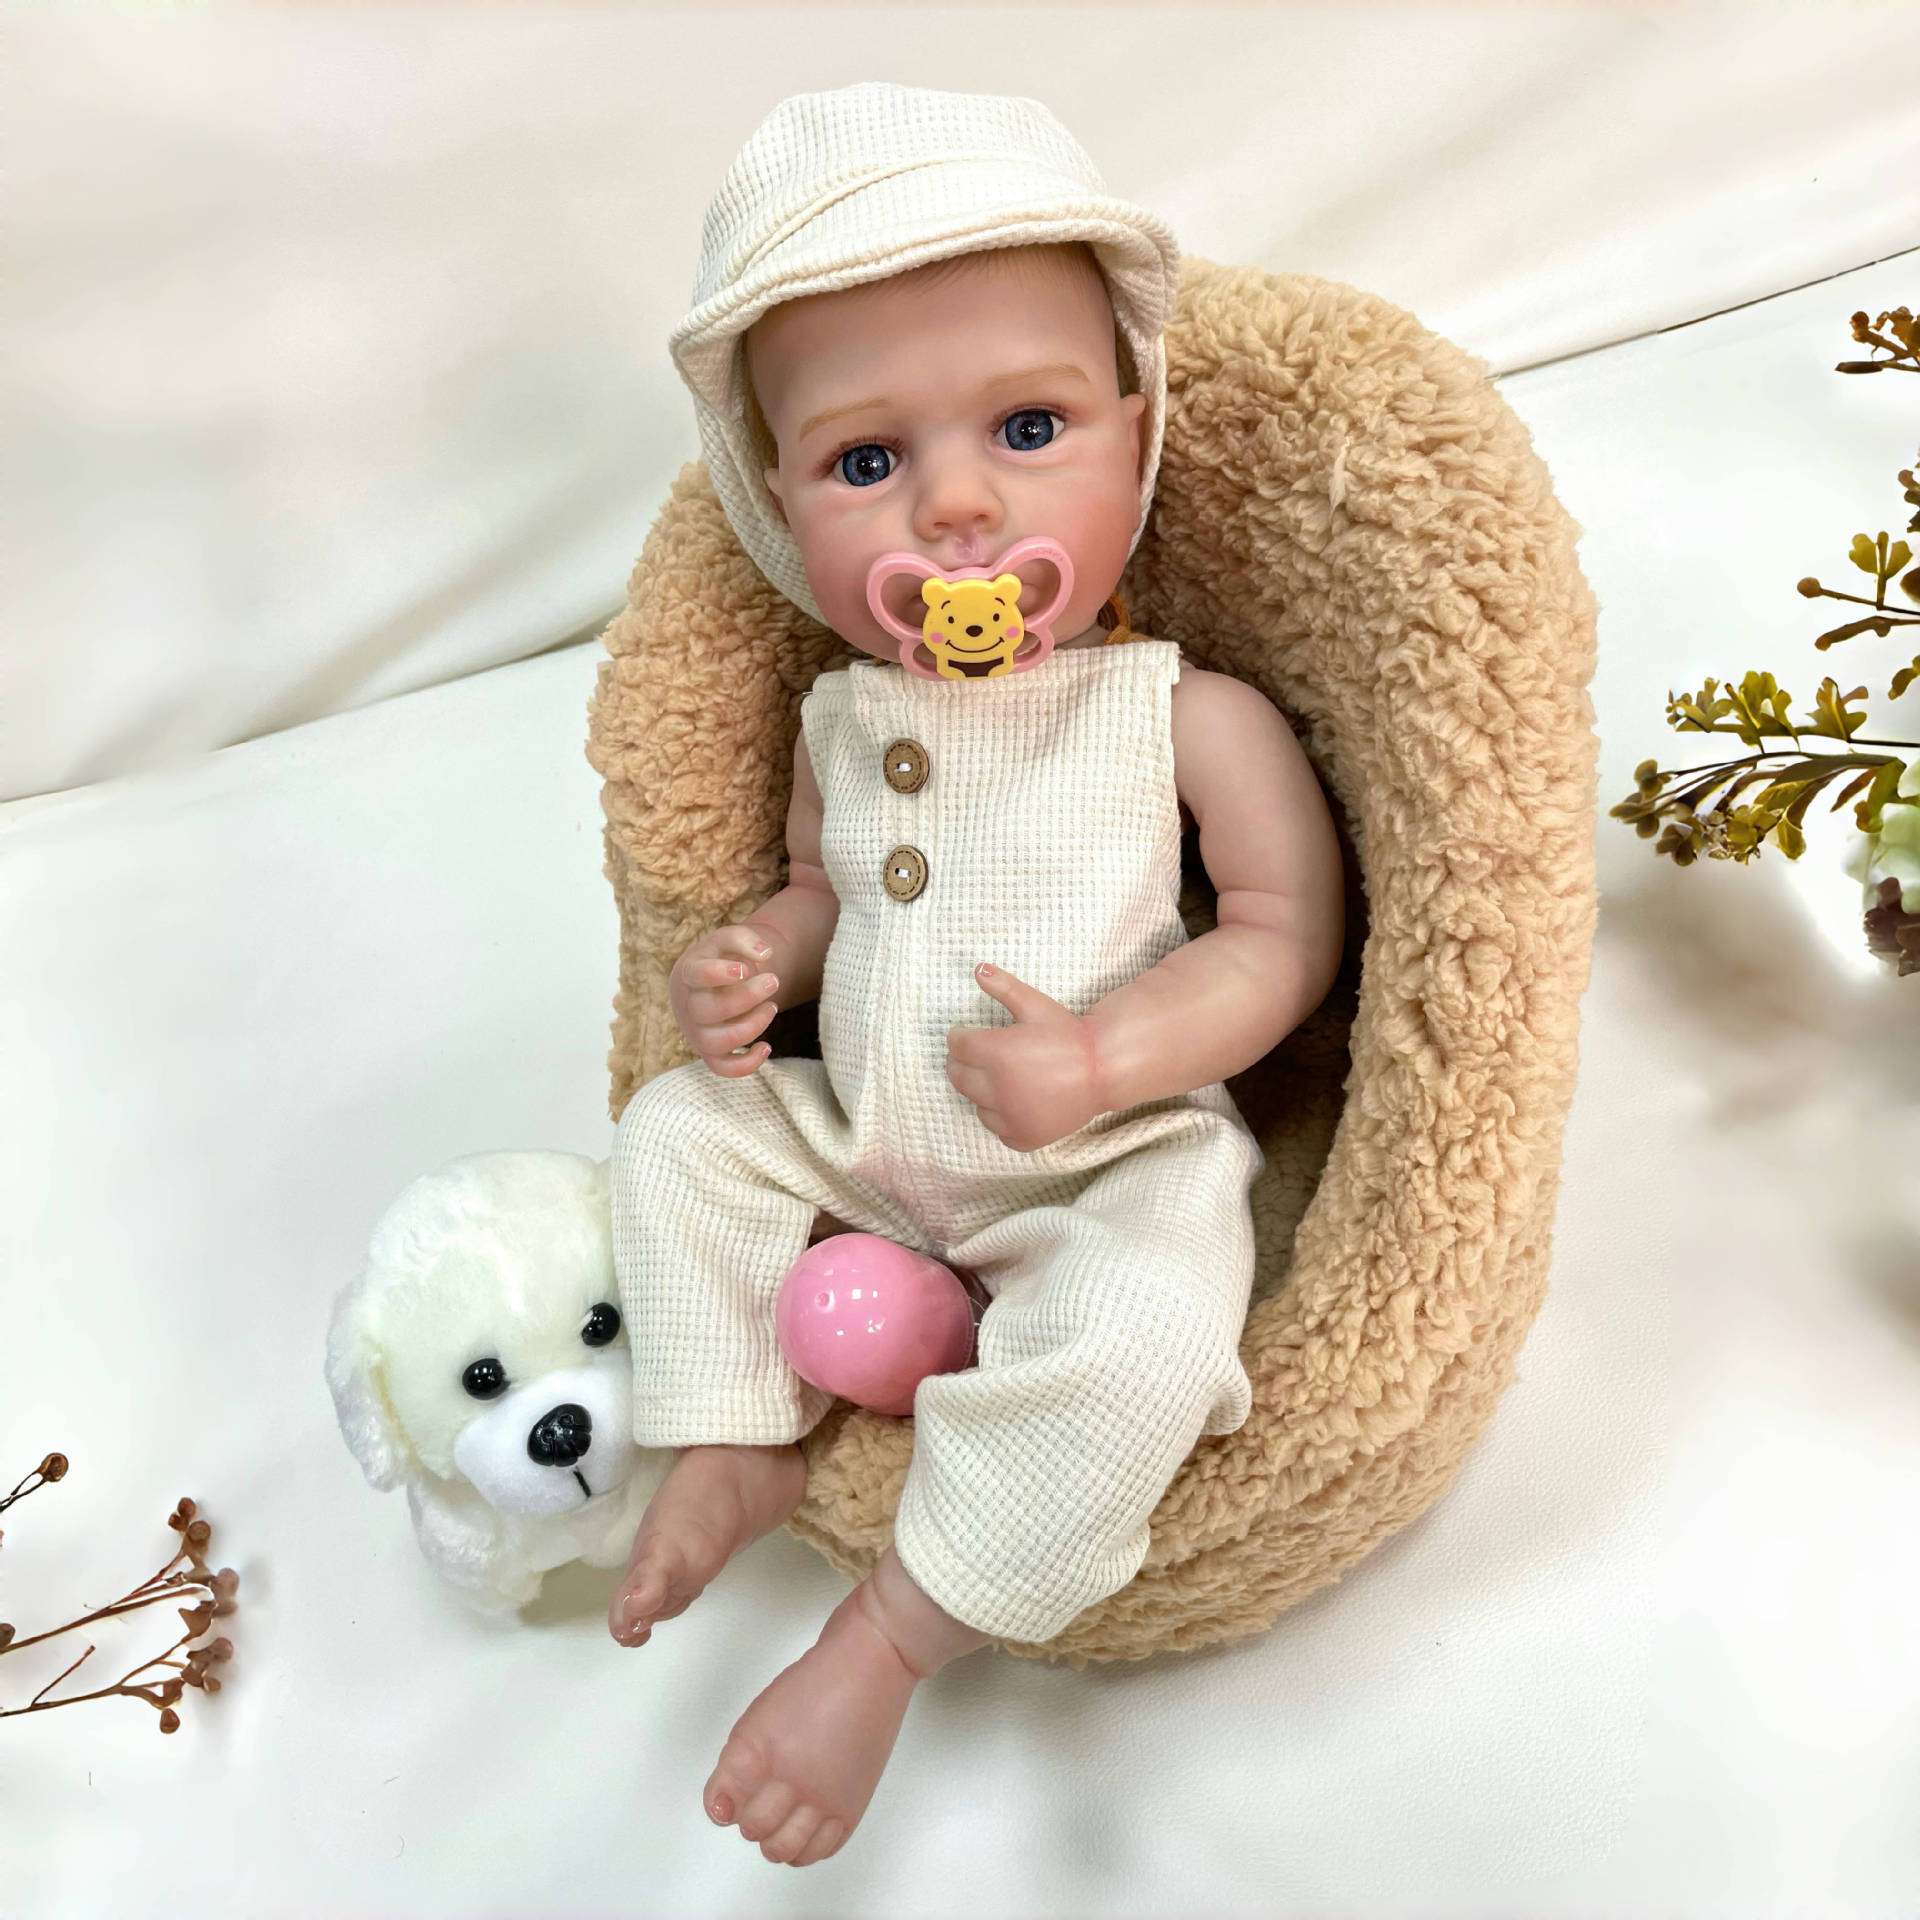
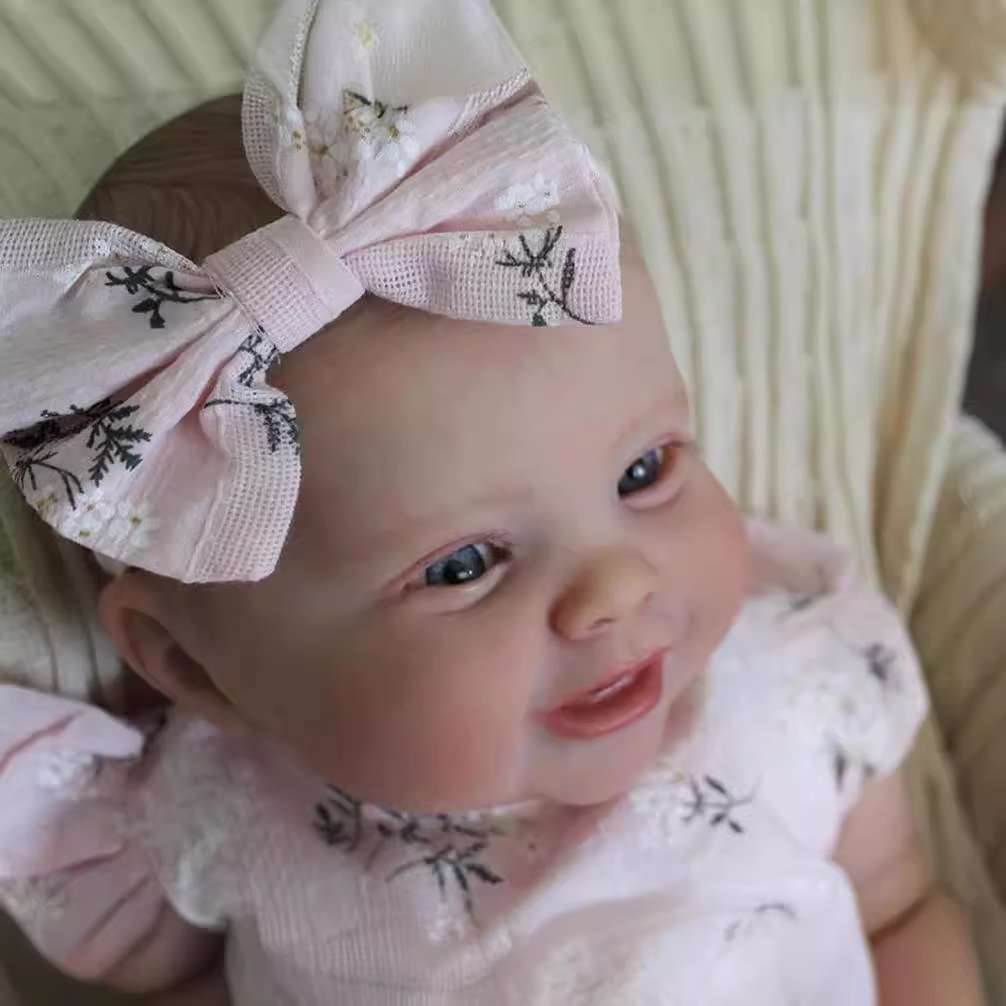
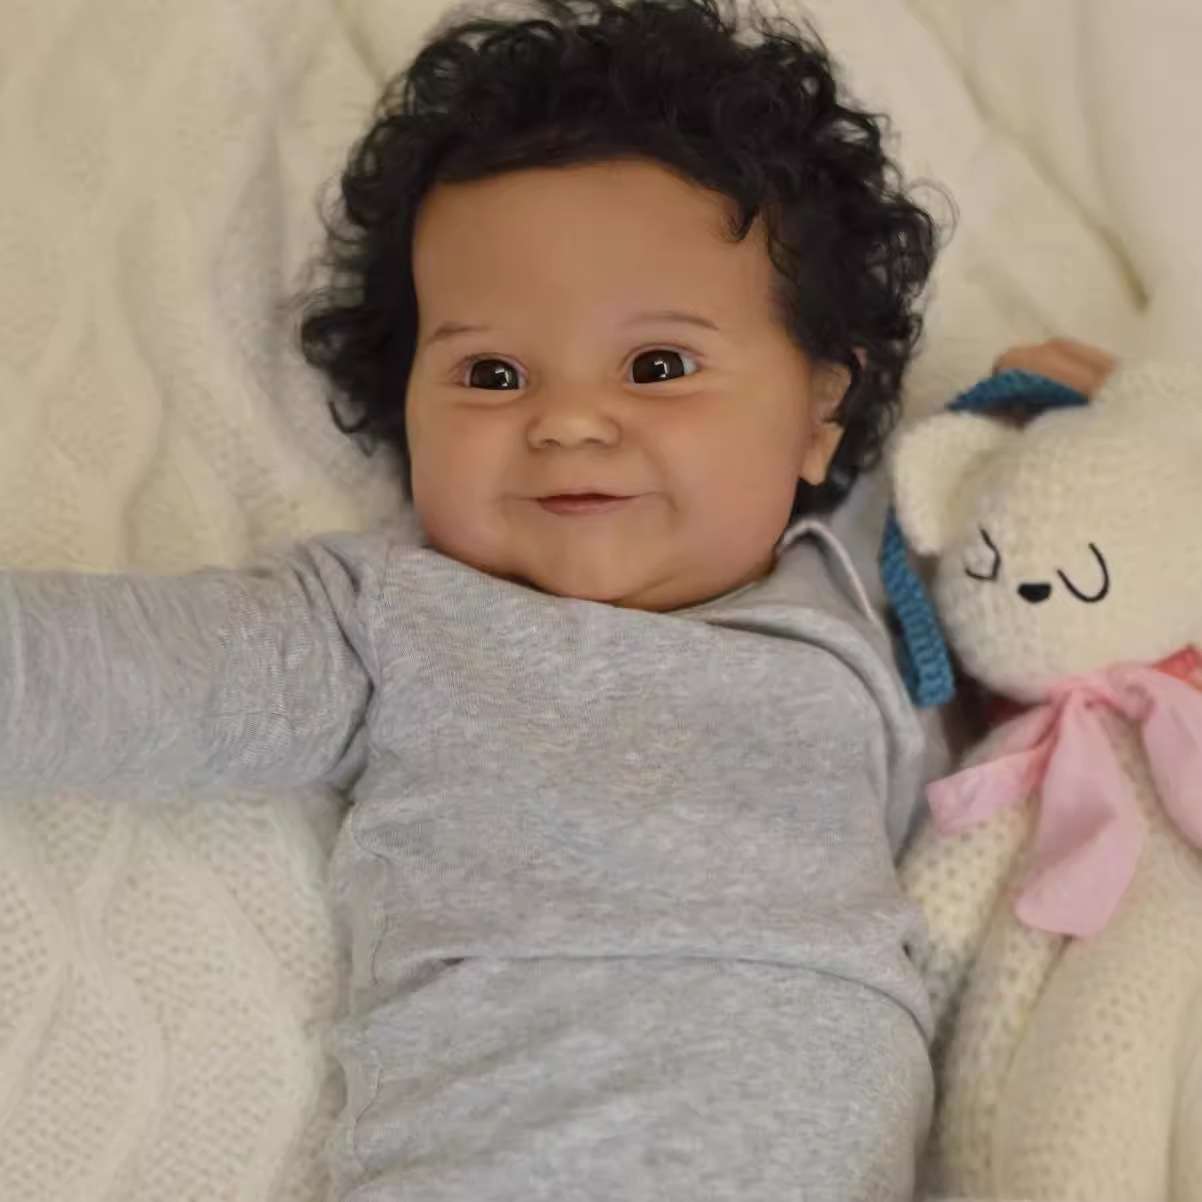
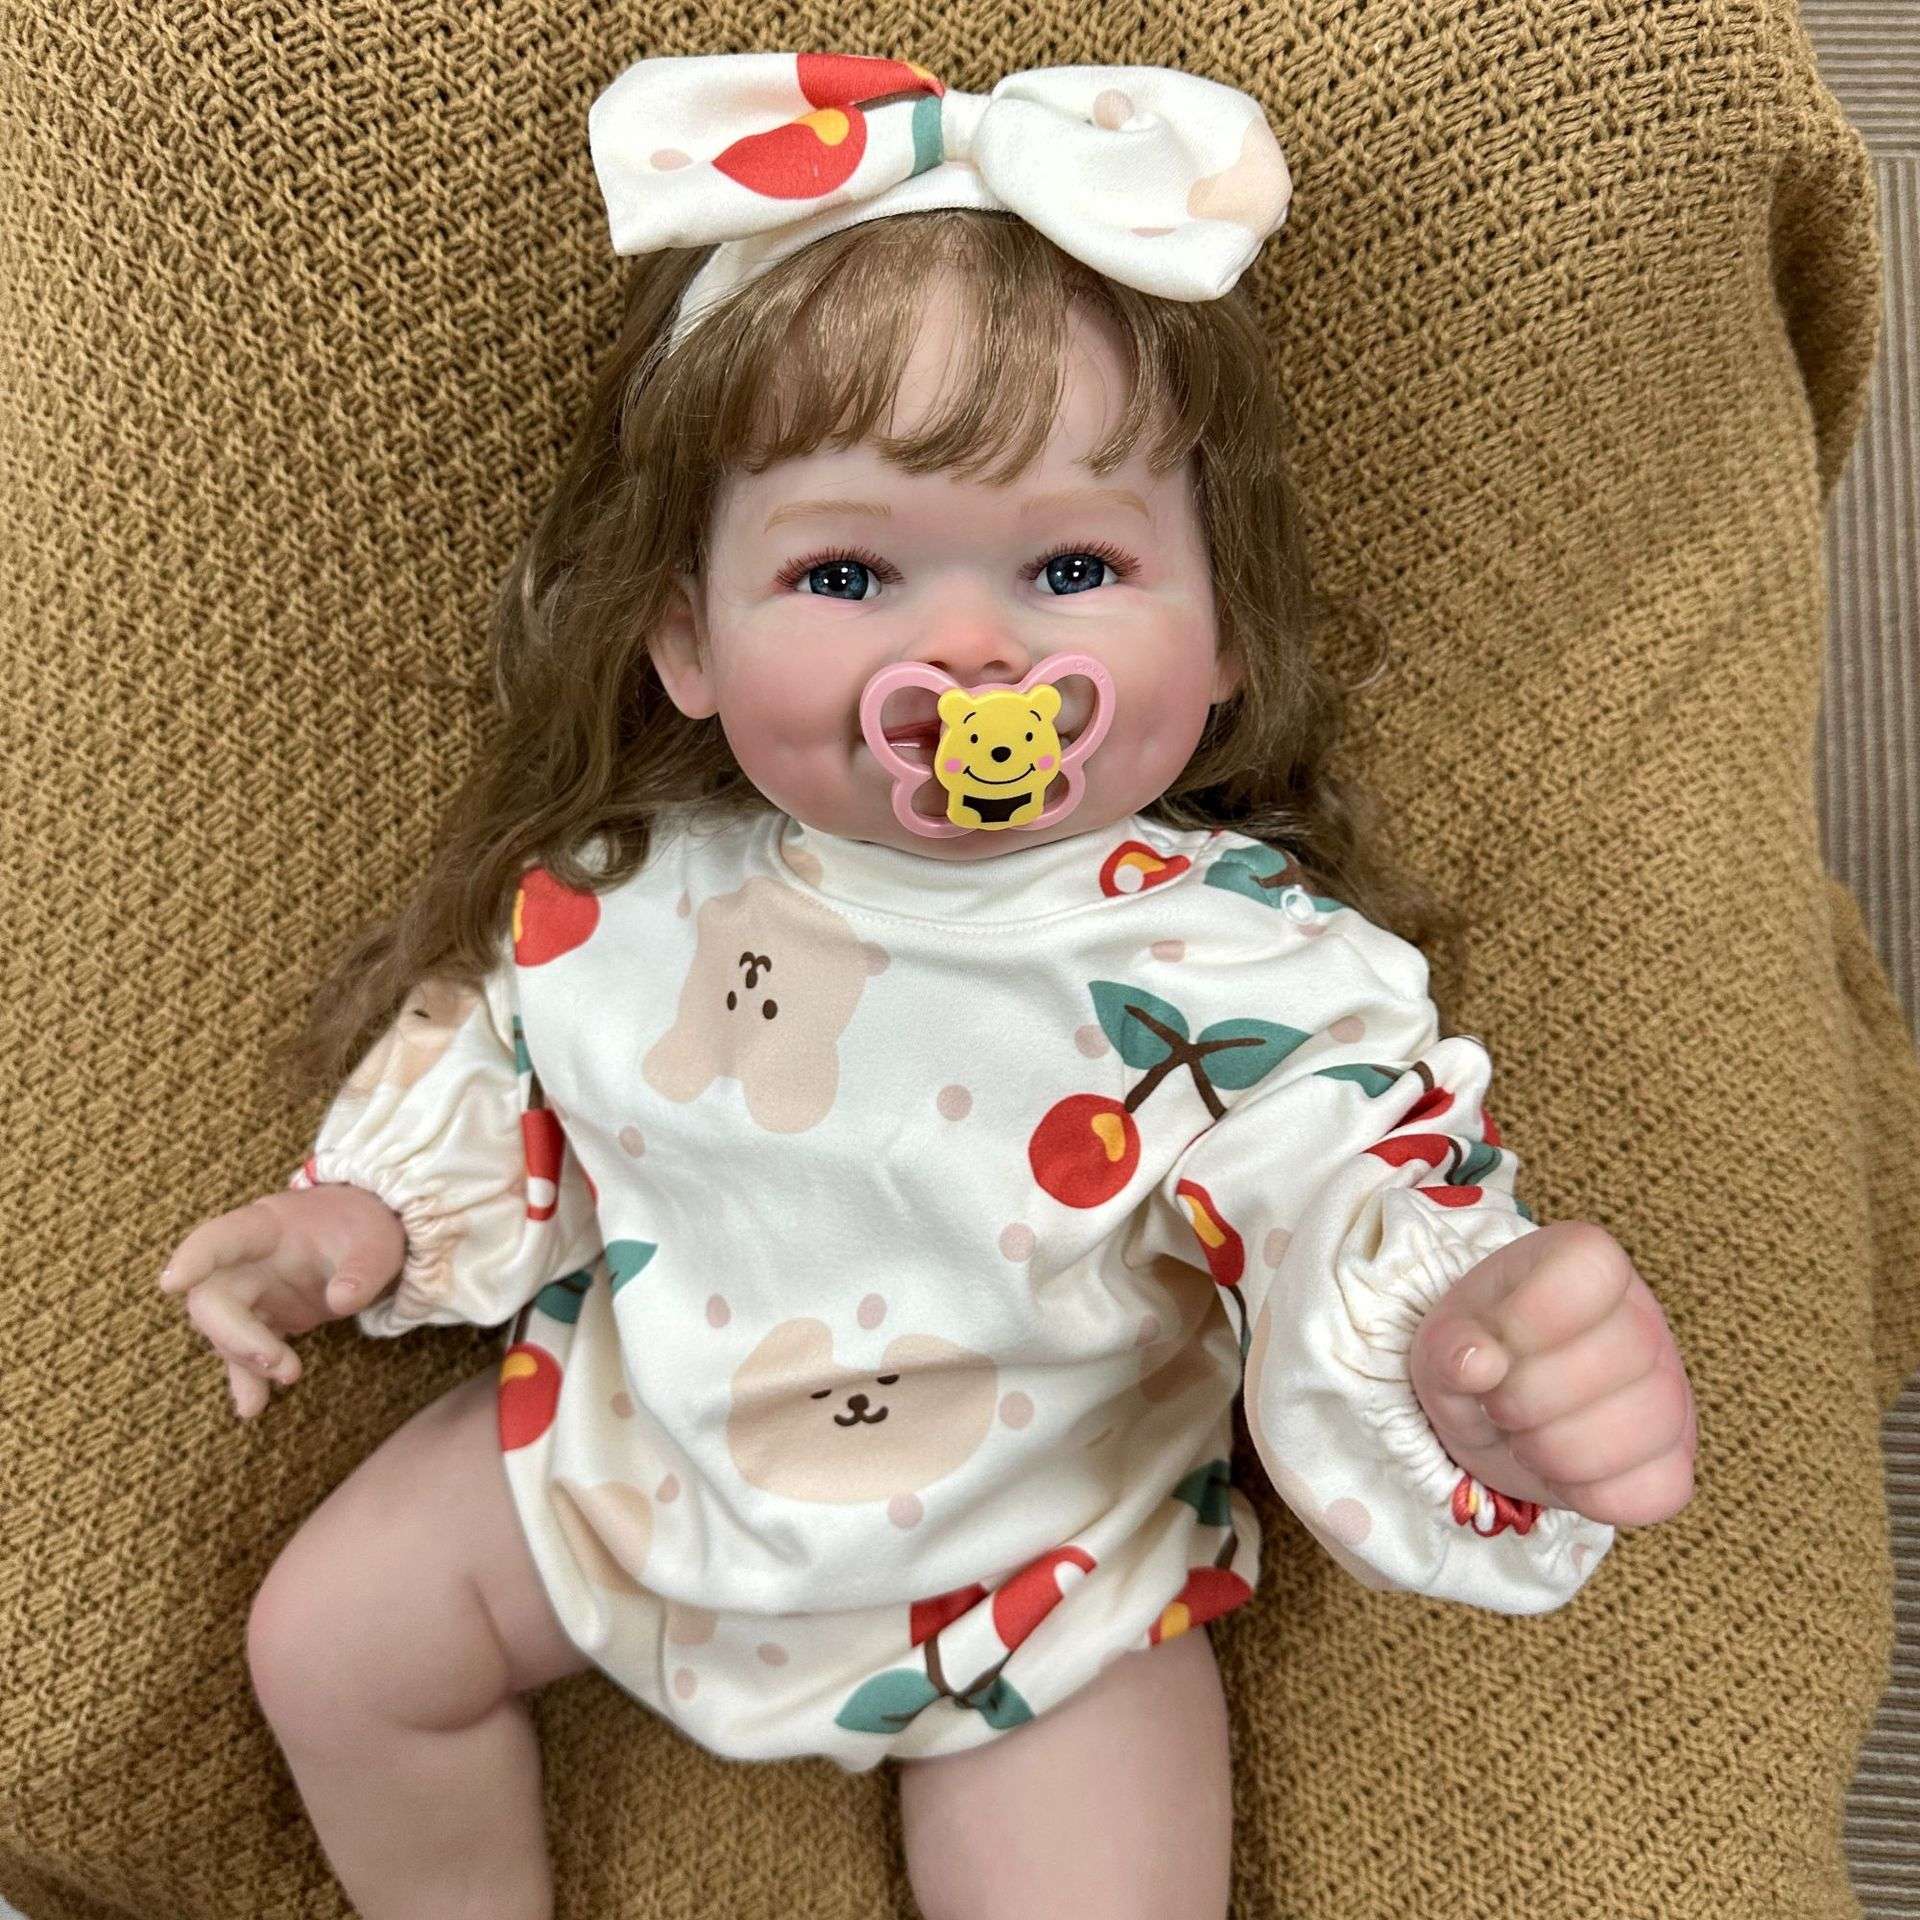
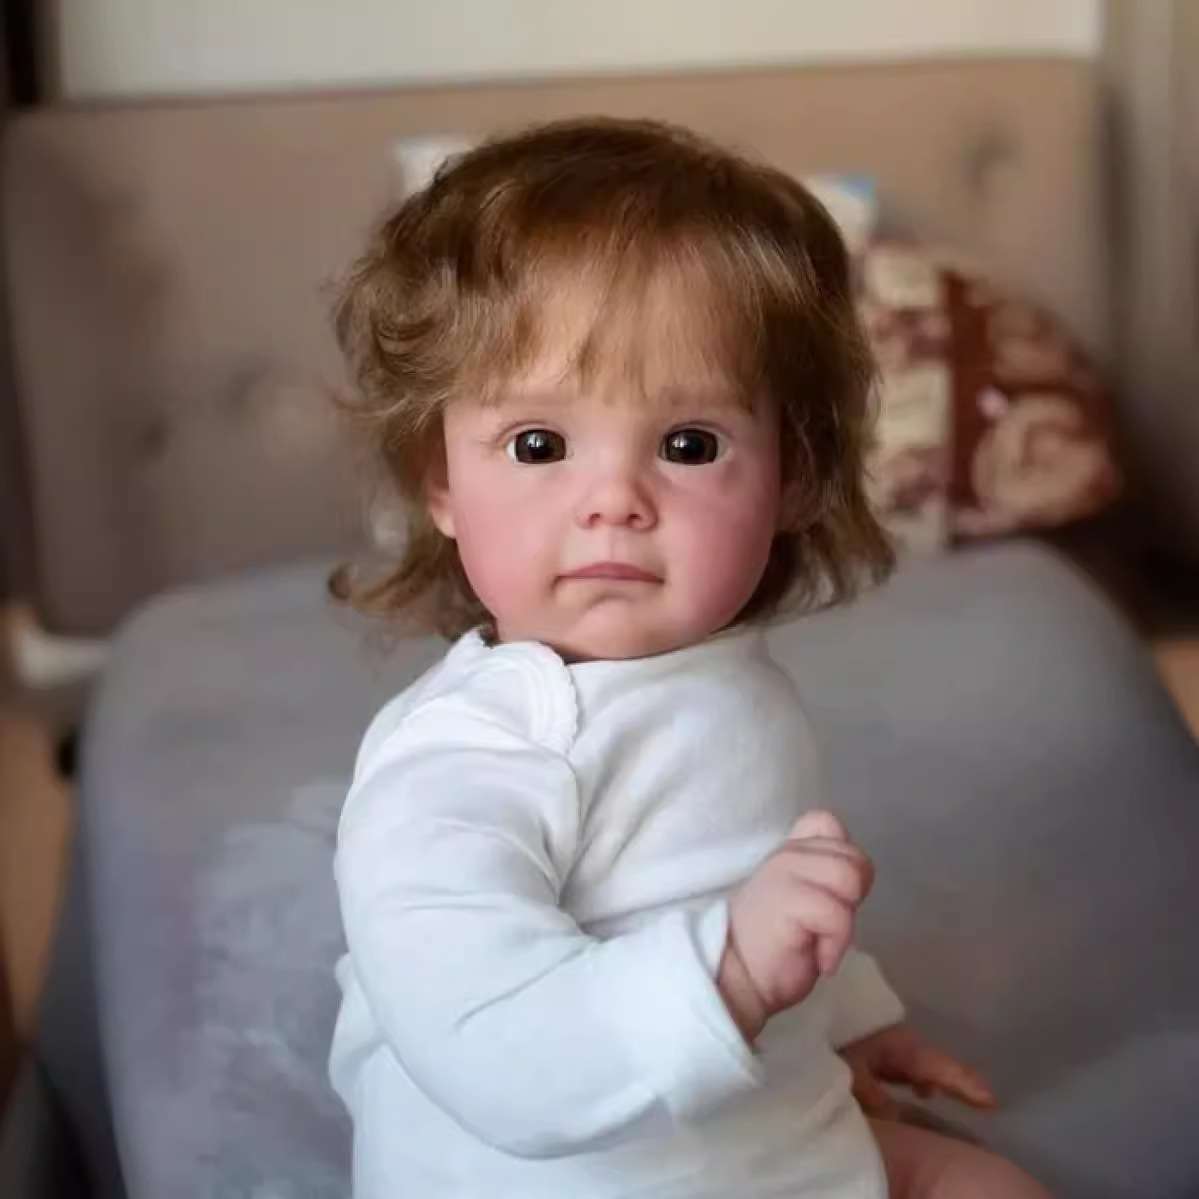
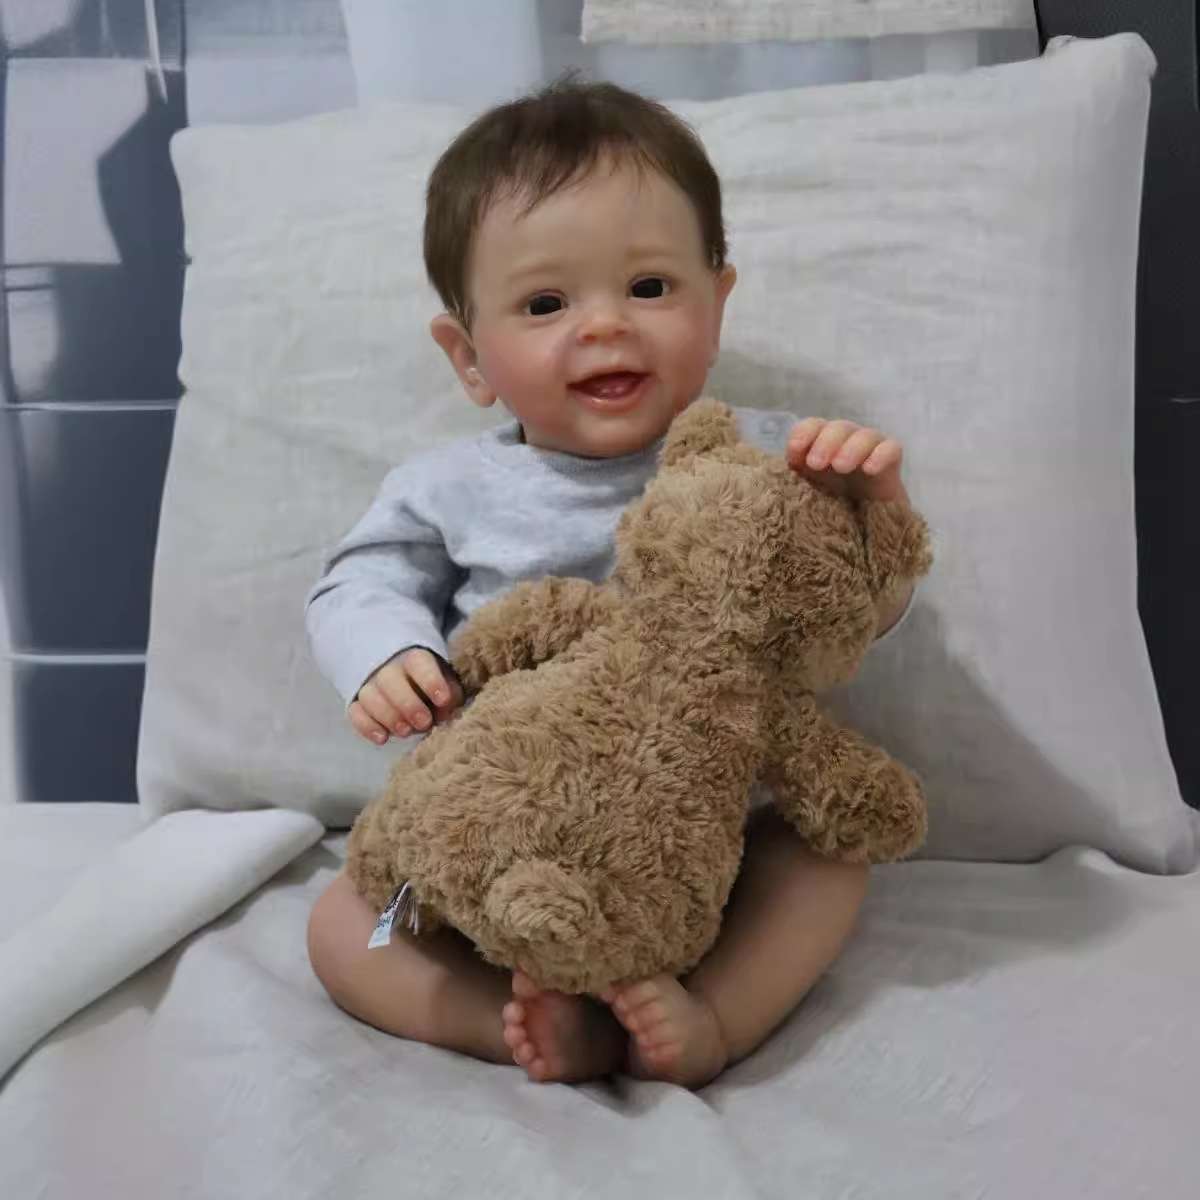
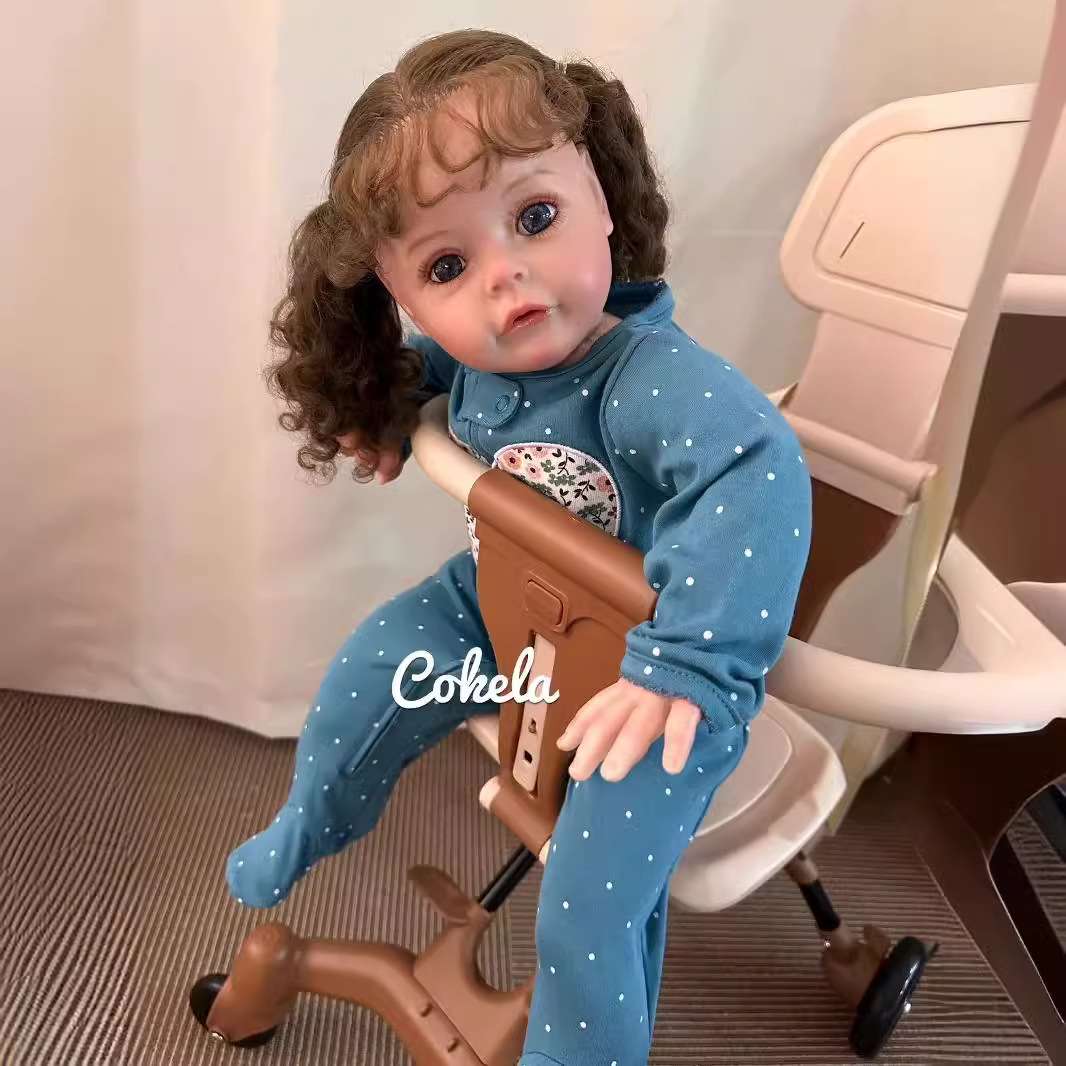
The world of dolls has evolved significantly over the years, with one of the most fascinating developments being the creation of reborn dolls. These dolls are far from the typical toys you might find on store shelves. Instead, they are meticulously crafted works of art designed to resemble real babies as closely as possible. For many, reborn dolls are more than just a hobby; they are a passion, a therapeutic tool, and even a means of artistic expression.
In this article, we will explore the intricate process of creating reborn dolls, from the initial sculpting to the final touches that bring these lifelike creations to life. We will also delve into the emotional and artistic significance of reborn dolls, explaining why they have captured the hearts of collectors and artists alike. Finally, we’ll guide you to where you can find these incredible works of art, including a visit to the BabySimulator store, which offers a wide selection of reborn dolls for those looking to start or expand their collection.
The Origins of Reborn Dolls
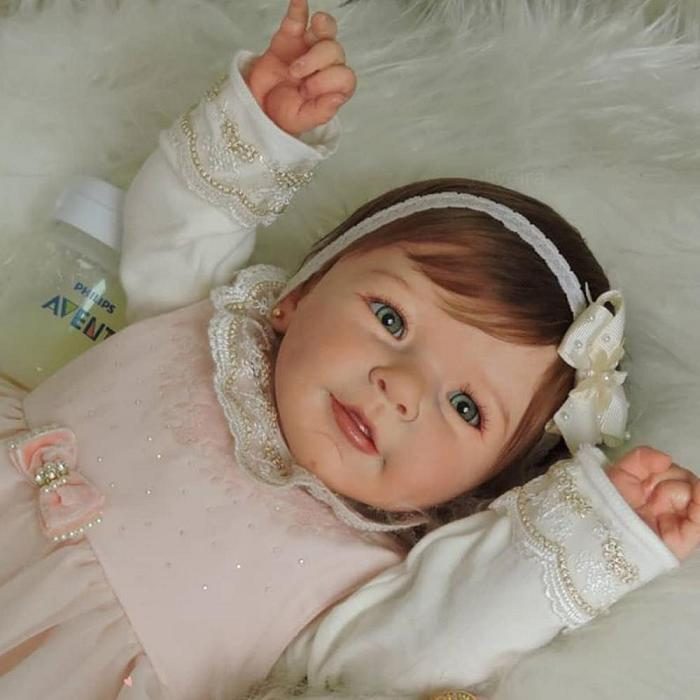
Before diving into the process of creating lifelike reborn dolls, it’s important to understand their origins. Reborn dolls first emerged in the late 1980s and early 1990s, initially as a niche hobby among doll enthusiasts. These early creations were often made by modifying existing dolls, stripping them of their factory paint and reapplying more realistic features.
The term “reborn” itself refers to the process of taking a manufactured doll and transforming it into something that looks as close to a real baby as possible. Over time, the art of reborning evolved, with artists developing new techniques and materials to enhance the realism of their creations. Today, reborn dolls are recognized as a distinct form of art, with dedicated communities and markets around the world.
Step 1: The Initial Sculpting
The creation of a reborn doll begins with the sculpting of the doll’s basic form. While some artists start with a blank vinyl doll kit, others prefer to sculpt their own original models from scratch using clay or other sculpting materials. These kits often come with basic features already in place, such as the shape of the head, arms, and legs, but it’s up to the artist to add the intricate details that will make the doll truly lifelike.
During this stage, the artist focuses on the proportions and features of the doll. This includes shaping the face to reflect the softness and delicacy of a newborn, sculpting the limbs to capture the subtle folds and wrinkles of a baby’s skin, and ensuring that the body has a realistic weight and feel. Many artists use reference photos of real babies to guide their work, aiming to capture the unique characteristics that make each baby distinct.
For those who prefer to start with a pre-made kit, this step involves selecting a kit that best matches the artist’s vision for the final product. These kits are often designed by master sculptors and are available in a variety of poses, expressions, and sizes.
Step 2: Preparing the Vinyl
Once the sculpting is complete, or once the artist has selected a kit, the next step is to prepare the vinyl for painting. Vinyl is the most commonly used material for reborn dolls because of its durability and flexibility, which allows for realistic texturing and shading.
Preparing the vinyl involves thoroughly cleaning each piece to remove any oils or residues that could interfere with the paint. Some artists also choose to lightly sand the vinyl to create a surface that better absorbs the paint. This step is crucial for ensuring that the paint adheres evenly and that the final result is smooth and realistic.
Step 3: Applying the Base Coat
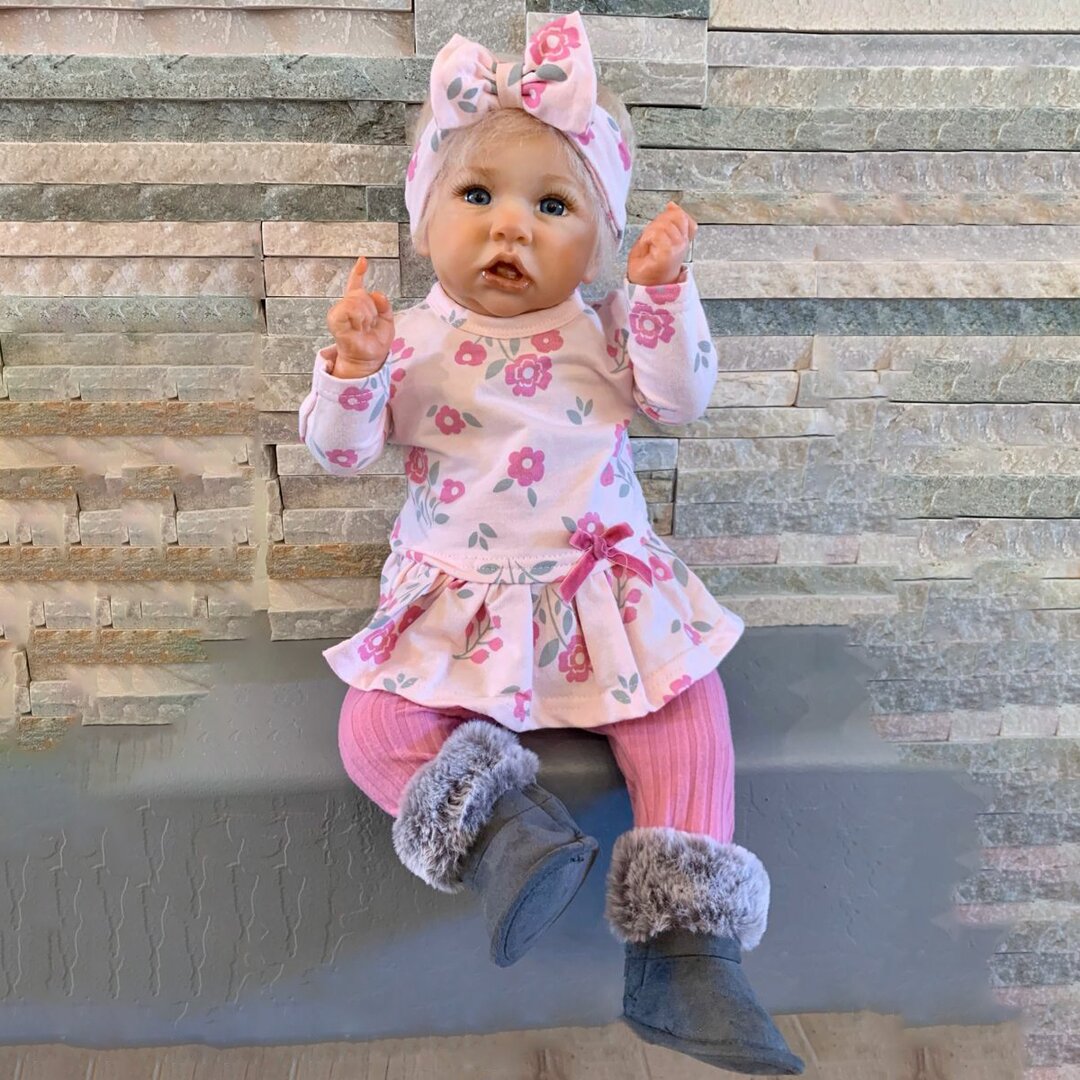
With the vinyl prepared, the artist begins the painting process by applying a base coat. This coat is typically a neutral color that serves as the foundation for all subsequent layers of paint. The base coat is applied evenly across the entire doll, including the head, arms, legs, and body.
The purpose of the base coat is to create a consistent surface on which the artist can build up layers of color and texture. This step is particularly important for achieving the translucent quality of a baby’s skin, which is one of the hallmarks of a well-made reborn doll.
Step 4: Building Up Skin Tones
After the base coat has dried, the artist begins the meticulous process of building up the skin tones. This is done through a technique called “layering,” where multiple thin layers of paint are applied to create depth and realism. The goal is to replicate the natural variations in skin tone that occur in real babies, such as the subtle blushing on the cheeks, the blue undertones around the eyes, and the reddish hues on the hands and feet.
Each layer of paint is carefully applied using a sponge, brush, or airbrush, and then heat-set to ensure it adheres to the vinyl. The artist must be patient during this process, as it can take many layers to achieve the desired effect. The skin tones of a reborn doll are what give it its lifelike appearance, so this step is critical to the overall success of the doll.
Some artists also use a technique called “veining” to add tiny, lifelike veins beneath the surface of the doll’s skin. This involves using a fine brush to paint thin, blue lines in areas where veins would naturally be visible, such as the wrists, ankles, and temples. When done correctly, veining adds an extra level of realism to the doll, making it look as though blood is flowing just beneath the surface of the skin.
Step 5: Detailing the Features
Once the skin tones are complete, the artist moves on to detailing the doll’s facial features. This includes painting the eyebrows, lips, and nails, as well as adding any birthmarks, freckles, or other unique characteristics the artist wants to include.
Painting the eyebrows is a particularly delicate task, as they need to be fine and realistic. Some artists choose to paint each individual hair stroke, while others prefer to use a more general shading technique. The lips are also carefully shaded and highlighted to give them a soft, natural look.
The nails are painted with a translucent pink or beige color, and a tiny white tip is added to replicate the look of a baby’s fingernails. Some artists also add a glossy finish to the nails to give them a healthy, well-manicured appearance.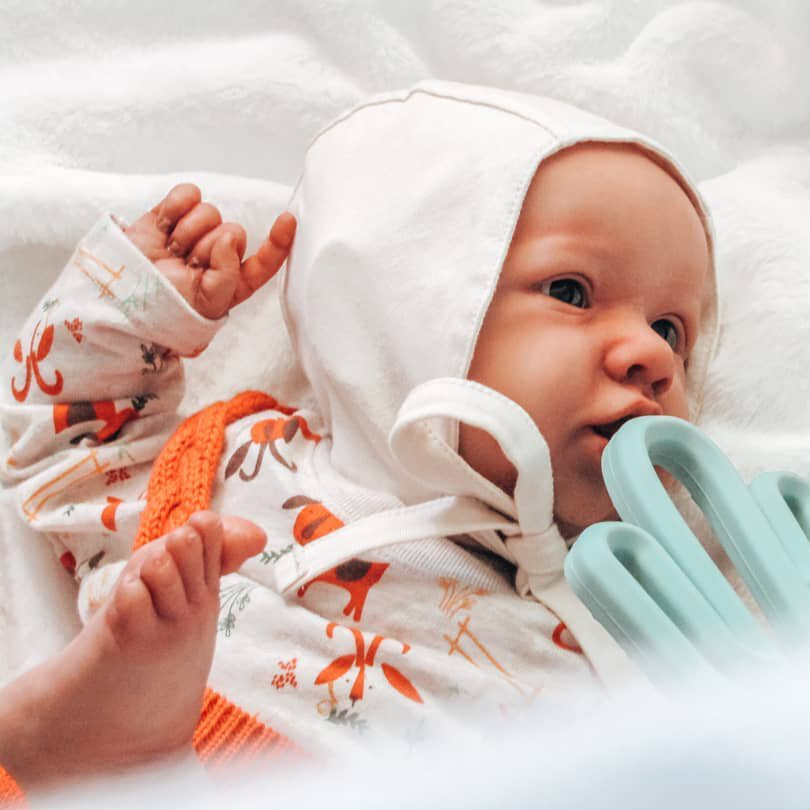
Step 6: Rooting the Hair
One of the most labor-intensive steps in creating a reborn doll is rooting the hair. Unlike most traditional dolls, where the hair is often glued or sewn onto the head, reborn dolls typically have hair that is individually rooted into the scalp. This process involves using a fine needle to insert each strand of mohair or human hair into the vinyl, one hair at a time.
Rooting the hair can take many hours, depending on the thickness and length of the hair. The artist must be precise in placing each hair to ensure that it looks natural and that the hairline is realistic. Some artists also choose to add eyelashes and eyebrows using the same technique, although these features are often painted instead.
Once the hair is fully rooted, it is sealed from the inside to prevent it from coming loose. The hair can then be styled in a variety of ways, from soft curls to straight, fine strands. The quality of the hair and the skill of the artist in rooting it are key factors in the overall realism of the reborn doll.
Step 7: Assembling the Doll
With the painting and rooting complete, the final step is to assemble the doll. This involves attaching the limbs and head to the body, which is usually made of a soft cloth material filled with stuffing and weighting material to give the doll a realistic heft.
The body is typically designed to be poseable, allowing the doll to be positioned in various lifelike poses. Some reborn dolls also include a mechanism that mimics the feel of a heartbeat or the sound of breathing, adding to the realism.
Once the doll is fully assembled, the artist makes any final adjustments to ensure that the doll looks and feels as realistic as possible. This might include touching up the paint, adjusting the hair, or adding a final layer of sealant to protect the paint from wear and tear.
Exploring the World of Reborn Dolls with BabySimulator
If you’re ready to explore the world of reborn dolls further, the BabySimulator store is an excellent place to start. This store offers a wide range of high-quality reborn dolls, from beginner-friendly kits to fully finished, high-quality dolls crafted by skilled artists. Whether you’re a seasoned collector or new to the world of reborn dolls, BabySimulator provides a variety of options to suit your needs and preferences.
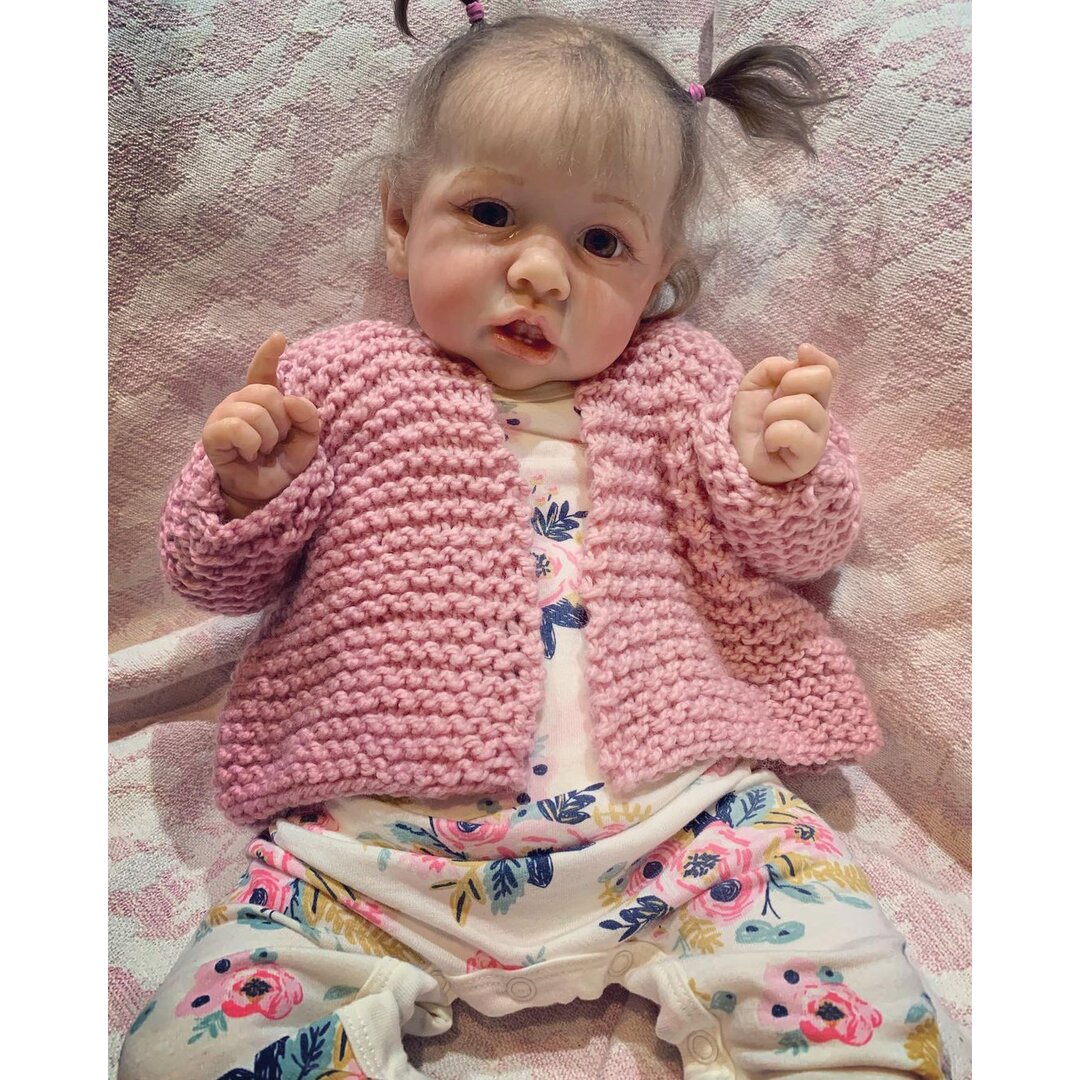
The BabySimulator store not only offers a selection of dolls but also provides the tools and materials needed to create your own reborn doll. For those interested in the art of reborning, this is a valuable resource, offering everything from paints and brushes to hair and rooting tools. The store’s commitment to quality ensures that you’ll find the best products available, whether you’re looking to buy a finished doll or create one from scratch.
Conclusion
The art of reborn dolls is a fascinating blend of creativity, skill, and emotional expression. From the initial sculpting to the final touches, each step in the process of creating a reborn doll requires patience, precision, and a deep understanding of both the technical and artistic aspects of the craft. The result is a lifelike creation that can provide comfort, joy, and a sense of connection to those who own them.
Whether you’re drawn to reborn dolls for their artistic value, their therapeutic potential, or simply their beauty, there’s no denying the impact they have on those who create and collect them. If you’re interested in adding a reborn doll to your collection or learning more about this unique art form, I encourage you to visit the BabySimulator store. With a wide selection of dolls and supplies, BabySimulator is the perfect place to start your journey into the world of reborn dolls.
Hits: 87

